The main supply and extract ductwork for the mechanical ventilation heat recovery system runs within the landing wall (the wall will be extra thick). The supply pipe runs along the top and the extract underneath.
The ventilation system is required to provide the background ventilation because we are hoping to make the building very airtight and therefore would not get enough from drafts etc. We also do not have any heating upstairs and are using the MVHR system to redistribute the heat around the house.
The MVHR system will supply air to the 'dry' rooms (bedrooms, sitting room, lobby etc) and extract air from the 'wet' rooms (bathrooms, utility room etc). By undercutting the internal doors air will move from the dry rooms (where it is being supplied) to the wet rooms (where it is extracted).
A short section of flexible ducting will be used to connect the main rigid ducts to the supply and extract grilles in the rooms.


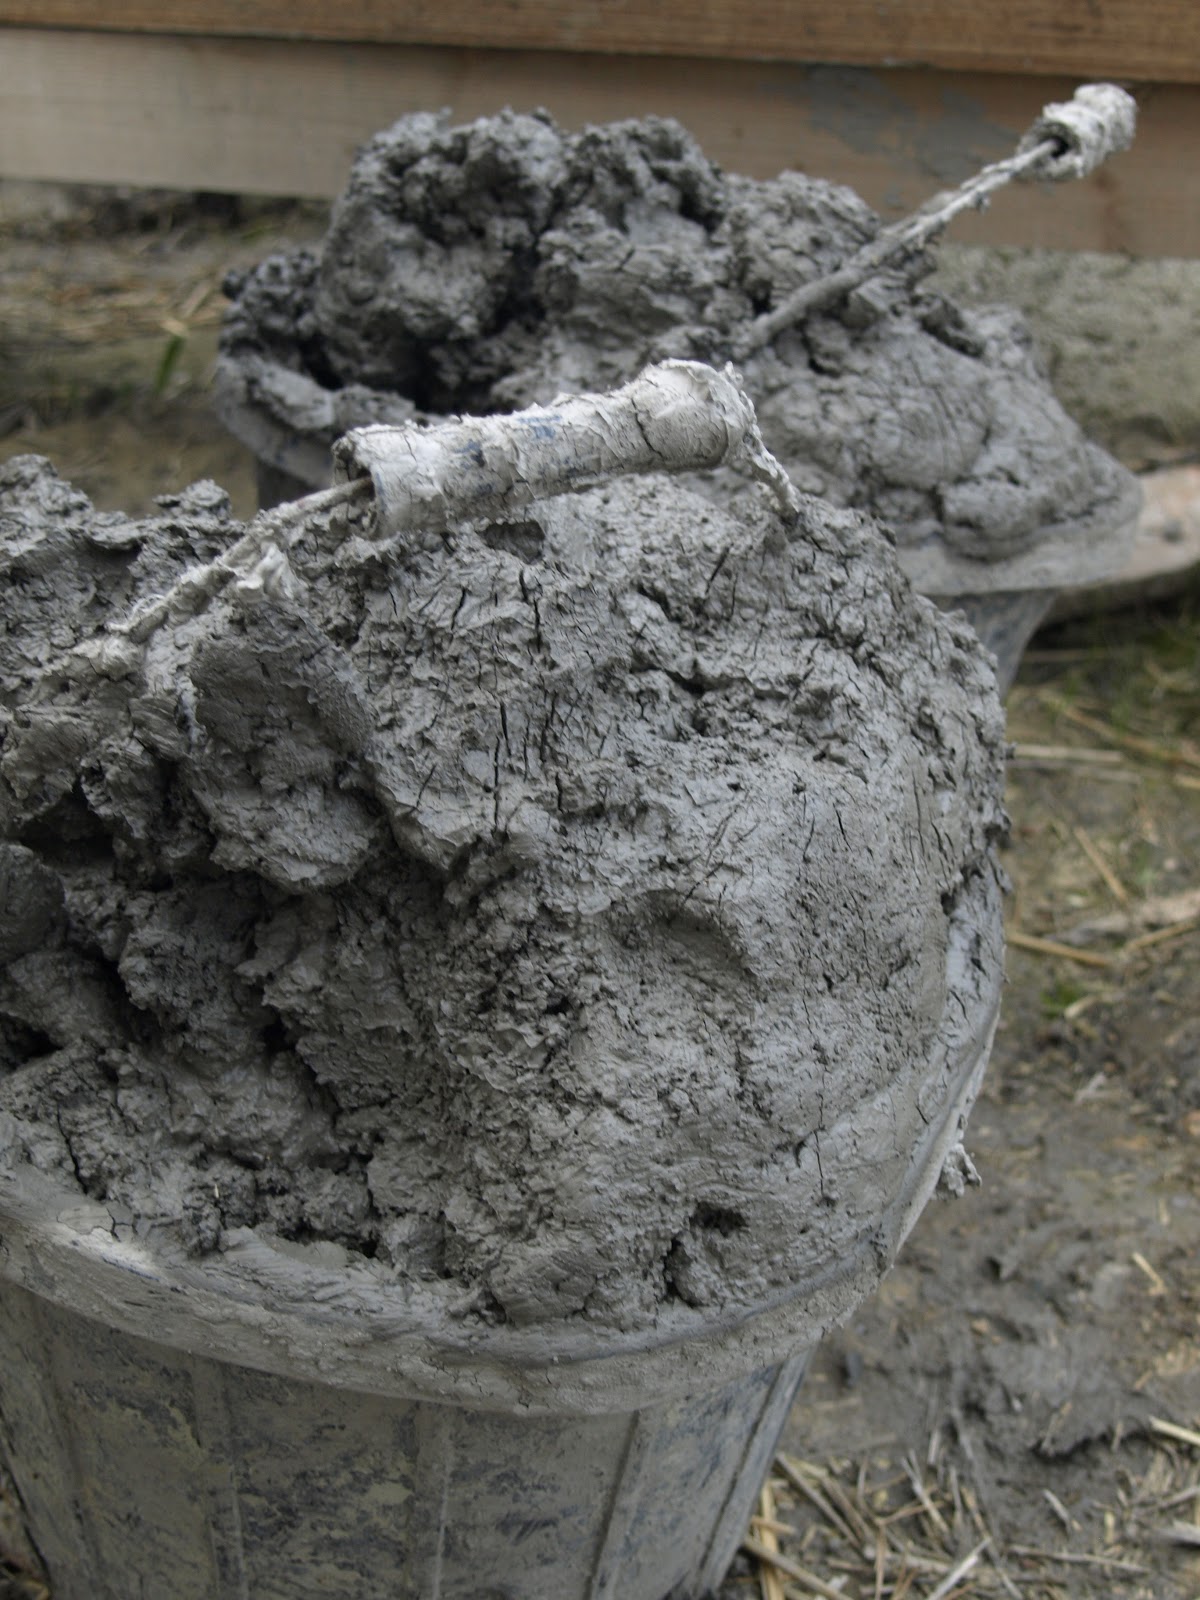
 Starting laying, using a lime mortar (2:1). We weren't sure how wet to make the mix, so we started with it quite dry.