Showing posts with label insulation. Show all posts
Sunday, 15 July 2012
Saturday, 30 June 2012
Insulating some last areas
The sheeps wool is back out today to insulate the last few bits..
Like this wall between the study and the hall. This wall was meant to be sprayed with warmcel insulation with the rest of the studwork but because we have framed out for a cupboard they were concerned this would be difficult to do.
We had some sheeps wool left over so put this in instead.
Tuesday, 19 June 2012
Warmcel insulation part 2 - floors
Part of the first floor over the utility room (with the heat pump) we wanted to fully fill with insulation to give as much soundproofing as possible. The plan was to 'inject' them with warmcel insulation from below (just to be confusing the photo is taken from above!). When we fitted the ceiling boards on the GF ceiling we let off a strip 400mm wide roughly in the centre of the floor, through which a pipe could be inserted into the floor and the insulation blown in. We were told to tape up all gaps, even those only 10mm wide, so I assumed the insulation could be blown with some force. I am not sure this was a correct assumption! The pipe can not really spray any distance and needs to be able to get right to the ends of the joists, which gets increasingly difficult the further you get from the insertion hole. The pipe is flexible and so negotiating it around things like the floor struts is not easy when you get a couple of meters away from the hole! To ensure you reach the end of each joist I think you need to be quite methodical and measure how far in the hose has gone to ensure the insulation has gone right to the end. We ended up taking up the ply on top of the joists to ensure the insulation had gone right to the end. I had thought the beauty of this method of insulation was that you didn't need to take up all the first floor again but I am now not sure it is reliable enough just to trust all joists are fully insulated to the end without checking.
When it came to filling the last section of the floor, where the pipe had been inserted, either mesh can be put over the gap, a hole made in it and the last bit filled (similar to the wall insulation). Or the last bit of ceiling board can be fitted, a small hole cut into it in every joist bay though which the last bit is filled.
We went for the latter as using the mesh was more difficult as one side of the ceiling was hard up against a studwall and so there wasn't a lot to staple the mesh to.
The cut out holes are kept. A small batten is inserted into the hole and screwed to the ceiling board either side and the hole can then be fixed to the batten.
The holes re-fixed.
Monday, 18 June 2012
Warmcel insulation - to mesh or not to mesh
It was the first day of the putting in the Warmcel (recycled newspaper) insulation today into the internal timber studwork walls and also part of the first floor. It was sprayed in using two different methods - open spraying (on the left of the image) and meshed (on the right), where they stapled up a fabric scrim first and then sprayed into the void created.
The insulation is sprayed using different size hoses - a smaller one where it is being injected into a contained void and a larger one when it is being open sprayed.
To start with the walls were open sprayed - this picture is a bit blurry as it was very hard to take a good picture because of all the dust...
...which just filled up the room! Literally everything got covered in a film of newspaper dust. (I am very glad that we taped over the electrical back boxes!)
At the end it looked like this.
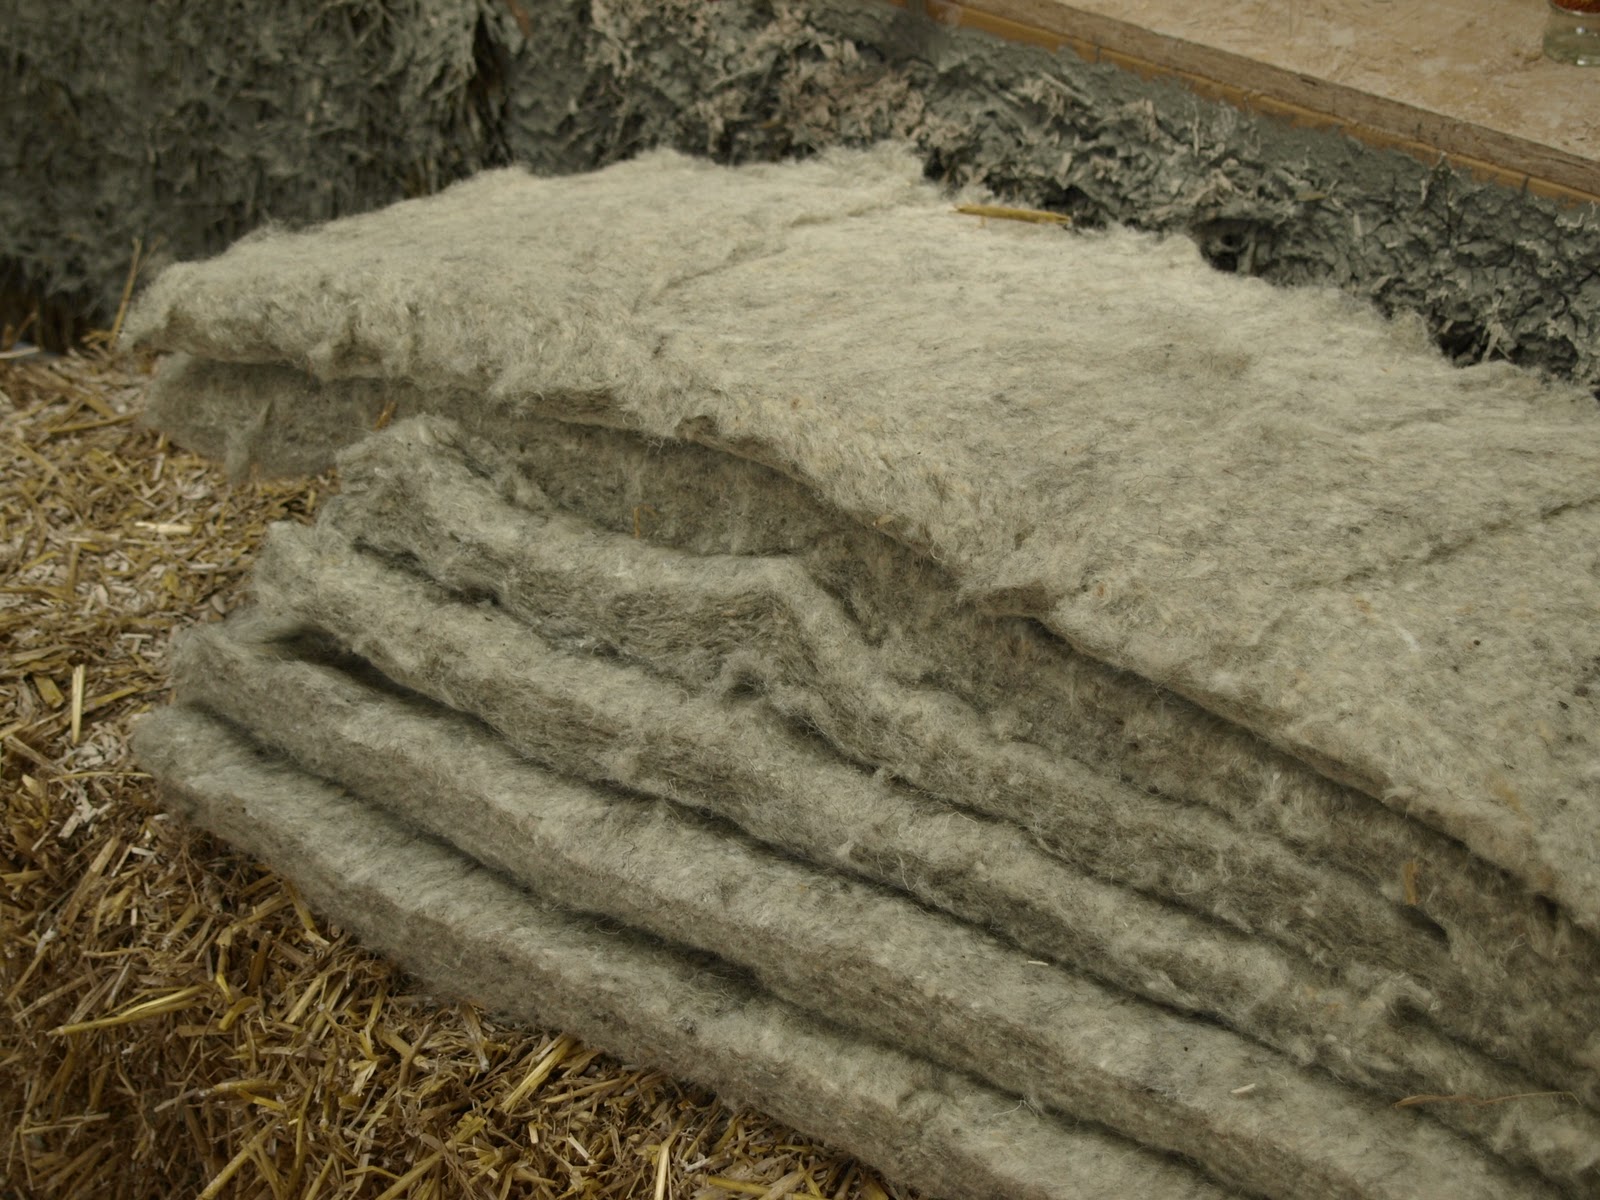
You can see the amount of insulation on the floor banked up against the wall.
The insulation then gets flattened off and the overspray and dust tidied up - this takes nearly as long as applying it!
Completed walls using the open sprayed method - they look neat but were incredibly dusty to do. We were told that there was no time limit on how long we could leave the insulation exposed as we were concerned it might fall out of the wall. When they spray it, it is slightly damp so it holds together better and we were worried that when it dried it might fall out of the wall. Whilst it doesn't fall out of the wall as such, if there is a lot of air movement across the surface of it then it does tend to blow out gradually.
In contrast, the meshed walls have a fabric scrim stapled up first as seen here. Holes are made in the mesh in each 'bay' of the wall, for example above and below every noggin and between all the studs. The hose is then inserted into the hole and the void filled up. There is virtually no mess! A definite plus compared to the open spray method in my opinion!
Its is worth noting that where we have the thicker walls, the people installing it found it easier to mesh and fill the entire void. So in places the insulation is about 300mm thick.
Sunday, 17 June 2012
Wednesday, 25 April 2012
First floor insulation
The first floor void is being insulated with warncel - recycled newspaper. 3/4 of it will be insulated about 100mm deep tipped in from above, the other 1/4 will be the full depth of the floor and will be 'injected' in with a hose from below. The first bit of the floor to be insulated from the top is here, so we can finish the bottom of the clay plaster panel (just about visible in the background).
The bags of Warmcel insulation.
Tipping the warmcel in...
The insulation between the joists.
Sunday, 19 February 2012
Insulating the internal walls
We want to insulate the internal studwork walls to stop sound from travelling between the rooms and we had bought some Isonat insulation to try out. It is made of a mix of wood fibre and hemp and is very dense about 50kg/m3. It comes in batts which are 1200 x 370mm so it is easy to install within studwork at 400centres.
We installed the small quantity we had ordered and then tried to order enough to finish, but were advised that the product is made in France and that they were pulling out of the UK market. We have two alternative products that we are looking at.
One is a this new product from Black Mountain Insulation, called Black Mountain Flex. It is also a mix of hemp and wood fibre and I believe has a density of about 40kg/m3.
The other is warmcel, recycled newspaper which is blown in once the plaster board or what ever plaster substrate is being used, is fitted to one side of the wall. Open blown has a density of about 30-35kg/m3. The advantage of blowing the warmcel is that where we have cables and pipes concealed within the wall the warmcel will surround them. If we were to use an insulation batt like the hemp and wood fibre then we would need to cut the insulation around the cables which would be tricky in places.
Sunday, 17 April 2011
Monday, 4 April 2011
Sunday, 27 March 2011
Friday, 17 September 2010
The ground floor bales finish under the first floor joists, and the first floor bales will begin on top of the joists, so we have a gap in the zone of the floor joists (300mm deep) which needs to be insulated. This space is an awkward shape (mainly due to the floor joists being 'I' shaped), and we thought the easiest way to fill it tightly (with no air gaps) was with a hemp and lime insulation.
We wanted to test this first to see how difficult it was, how well it worked, and how long it would take to dry. The mix we used was 3 hemp to 1 lime with just enough water to coat. It is a dry mix.
Subscribe to:
Posts (Atom)