Wednesday 23 June 2010

Day 73 - Brickwork plinth complete


Next phase is the timber frame...


The completed plinth!  It was really hot today (high of 28 degrees) so regular watering required.

Tuesday 22 June 2010

Day 72


The completed south elevation plinth.


All complete except the soldier course to the north facade.

Monday 21 June 2010

Day 71


Internal leaf of blockwork underway.


All the brickwork except the soldier course on the north elevation is now complete!


The hazel stubs arrive for setting the straw bales on.  These are 300-350mm long and 32-38mm diameter.

Thursday 17 June 2010

Day 67


Our first completed corner.


Progress made on the East Elevation today.

Wednesday 16 June 2010

Day 66 - Plinth brickwork (day 2)


To prevent the mortar drying out too quickly we regularly wet down the brickwork to control their suction.  It is amazing how quickly the bricks dry out again after being wet down.  The bricks are also wet down prior to being laid.  (This is the cavity side of the brickwork which will be hidden, so the mortar joint is not as well presented as the facing side - but the otherside was not in the sun!).


Our periscope ventilator that will provide ventilation for the woodburner is terminated with our custom made airbrick.  This has insect mesh behind it to prevent anything setting up home within our ventilation ducting.  The mortar and bricks above the air brick are supported on a piece of slate (concealed within the mortar joint).  Hopefully, this will be very subtle and less noticeable than a conventional airbrick.


If you were to lay the bricks frog down the creases create ridges on which water would sit and potentially cause damage to the brick.  (I am not sure if this comes out very well in the photo - we did try to pick a particularly creased brick!).


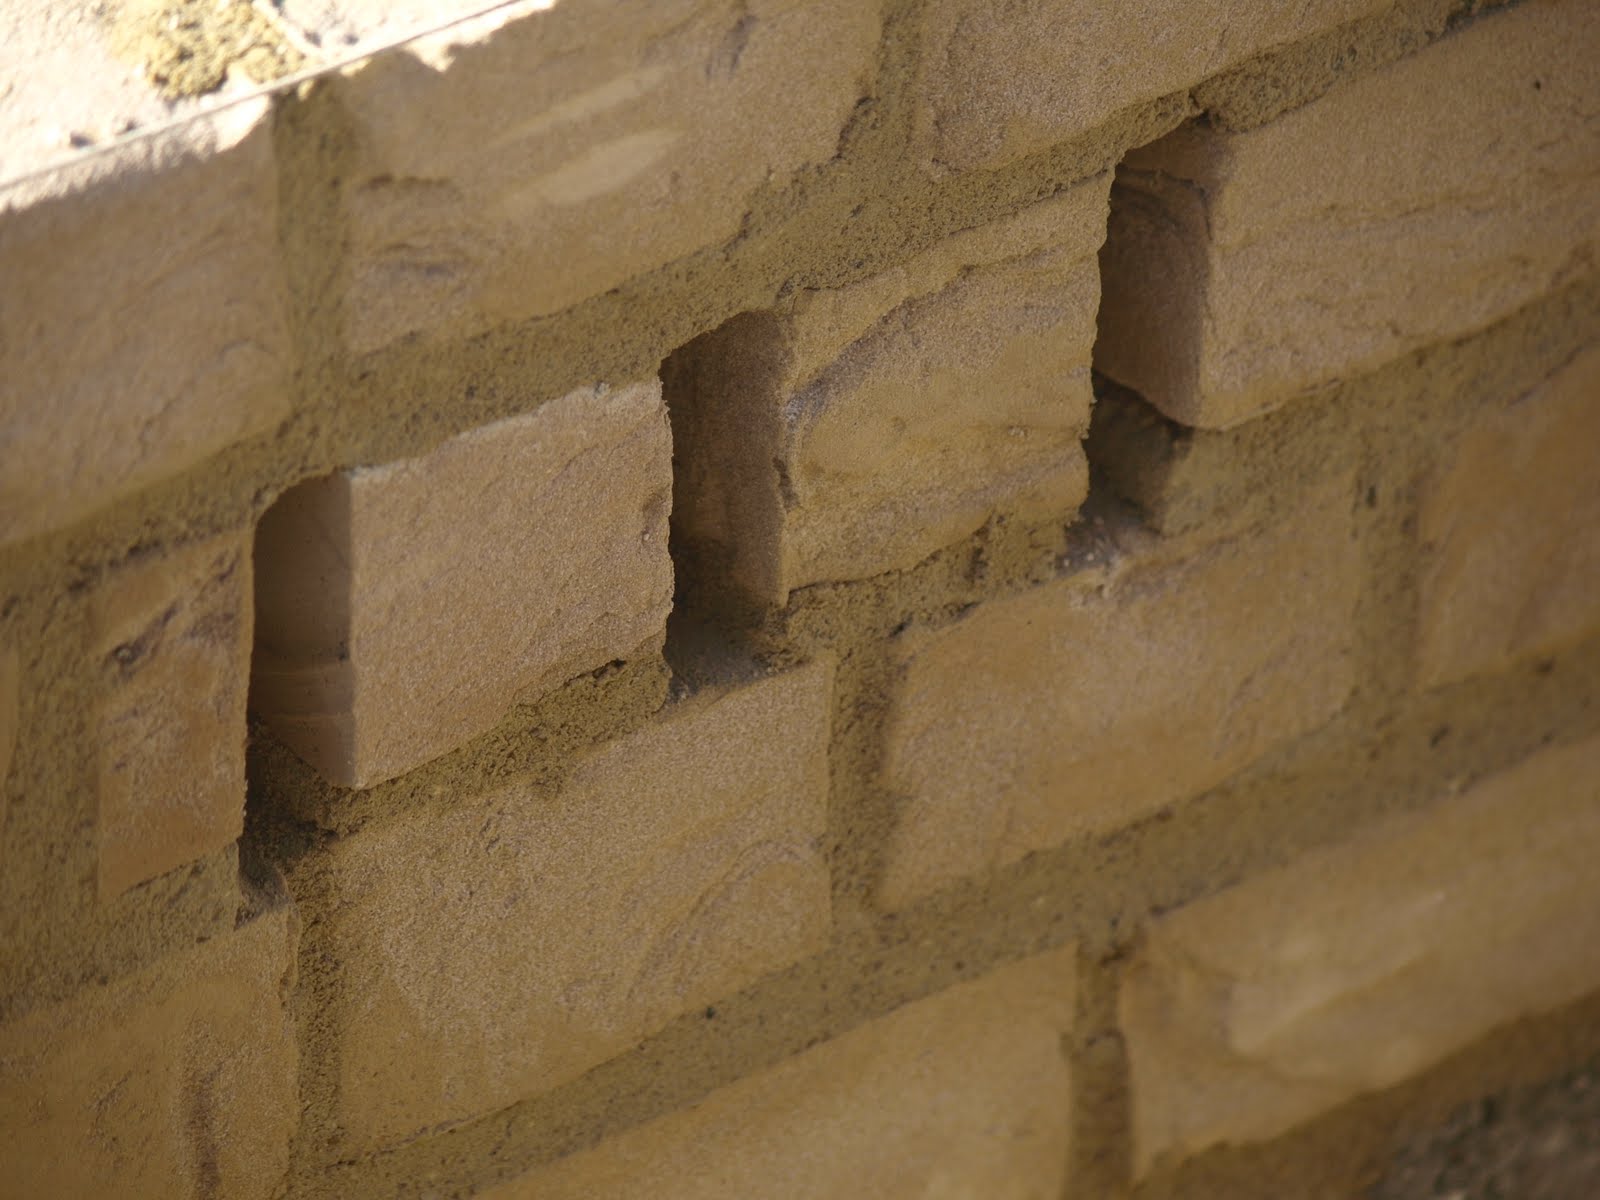
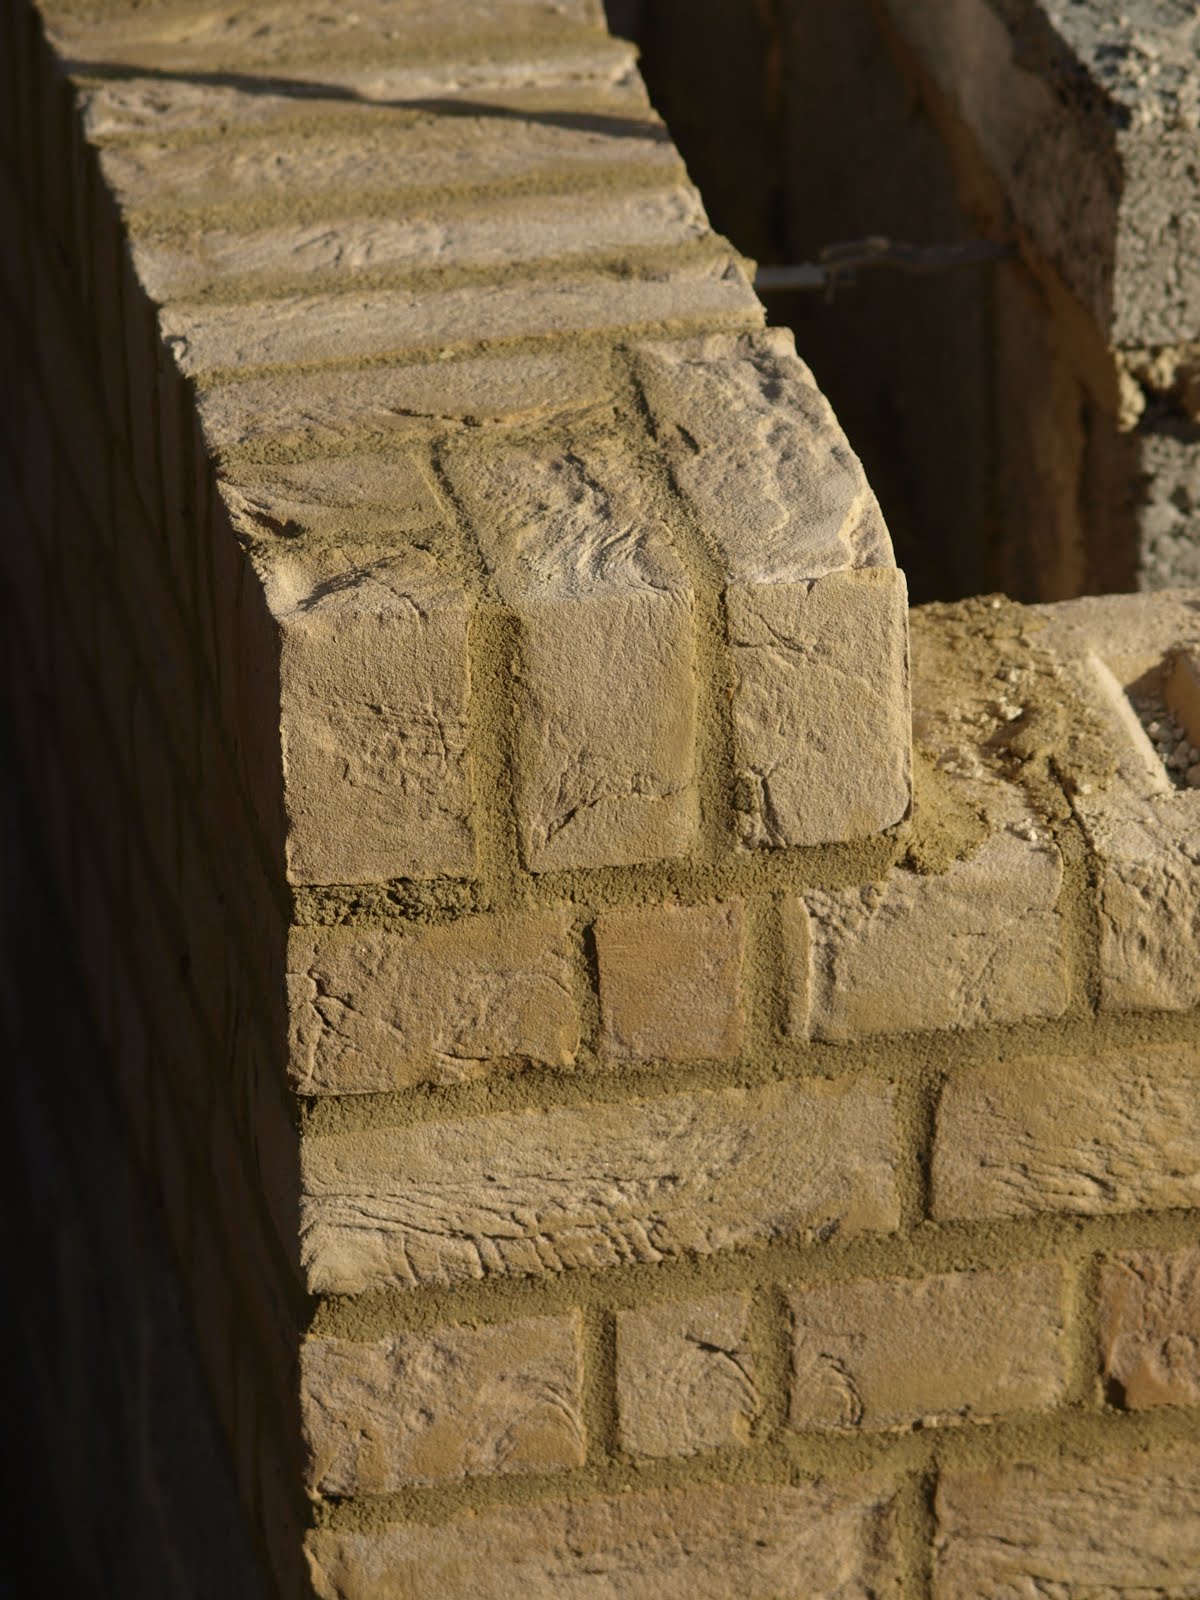
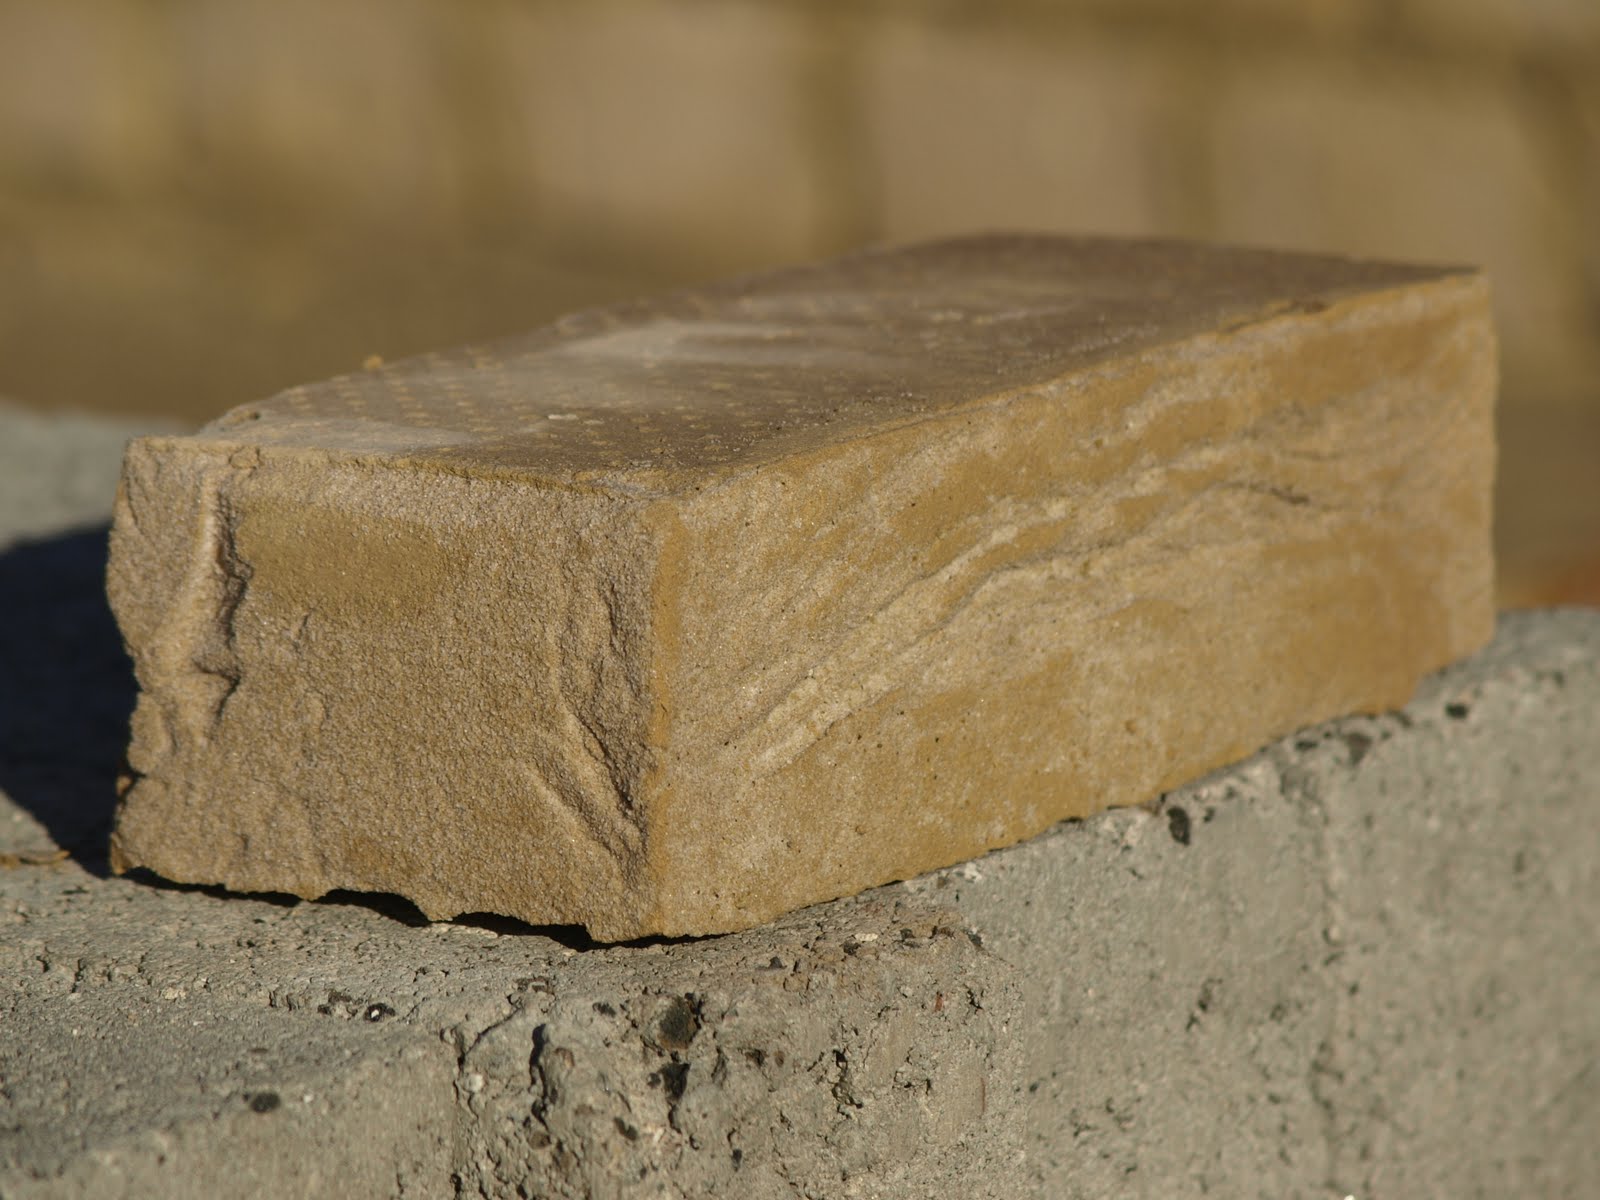
Another helpful piece of advice on the 'Instructions for handling' is:

ADVICE: To obtain a more beautiful brickwork, we advice to place the brick with the hole upside.
(any guesses where the bricks are from?!)

We noticed that this suits the creases in the brick, as this way up they shed water down.


The steel straps that will tie the sole plate down have bonded in nicely to the cavity side of the external leaf.


Another side (west elevation) at the same level of completion.


One complete side (south elevation) of brickwork, except the soldier course (and internal blockwork leaf).


We received a set of 'Instructions for handling' with the bricks.  Item number one on the list says 'To maintain an equal range of colouring it is important to open several pallets and mix them while building'.

Tuesday 15 June 2010

Day 65 - Starting the plinth brickwork


The first threshold and reveal completed.


The bond is English Bond.  This is virtually all the plinth brickwork - only the soldier course to go on top of this.  I am not sure this camera angle does the brickwork much justice!


The corners were built up first, with string lines to get it level.


...and stacked ready to go.  We're using TBS Lynton Blend.


Bricks are carted down to the slab...

Sunday 13 June 2010

Day 63 - Limecrete slab revealed


The limecrete slab revealed!  Looking good - no cracks at all.


All trimmed.


We removed the geotextile membrane coving the slab, ahead of the next phase of masonry on Tuesday.  We also cut back the excess geotextile around the slab.

Saturday 12 June 2010

Day 62 - cutting blocks


The cut blocks ready for the next phase of masonry - due to start on Tuesday next week.


In the next phase of masonry the inner leaf consists of a block and 1/2.  This means about 45 blocks need to be cut in half.  We set about making a start on the cutting!

Wednesday 9 June 2010

Day 59 - straps


One length of threaded rod was secured just above the current level of the blockwork, another was secured 225mm above this.  These levels correspond with mortar beds in the masonry and so can simply be bedded in during the next phase of brickwork.


The location of the straps was co-ordinated with the post locations, so they do not collide.


We inserted this through the strap, and secured it with a nut on the other side.  This stopped it flopping around, like a screw would.


We started trying to plug and screw the straps to the blockwork.  However, at the moment the inner leaf of masonry is higher than the outer leaf.  This made it very difficult to get an adequate fixing into the outer leaf.  We also believe the bricklayer wants to build up the rest of the inner leaf before the outer leaf of masonry, so fixing the strap to the outer leaf wasn't going to get any easier!  


So we came up with an alternative solution instead.  We cut up lengths of threaded rod (studding) and wound a nut on one end...

The structural engineer specified steel straps to tie the timber sole plate down (shown here in red).  These need to go a long way down in the cavity.  We decided to put these in the cavity now, before the rest of the masonry was completed, because it will be much harder to fix them then.


There seems to be plants beginning to grow in our cavity!   The roots are quite shallow and all at the top (so they are not growing through our lime mortar bed).  We can only assume that some seeds managed to sneak into the LECA bags before they were delivered.  We will obviously remove all these!  Presumably they will cease to grow once the LECA is covered up and light is excluded.

Thursday 3 June 2010

Day 53 - Watering the slab


As the temperature is over 15 degrees, we need to take care that the slab does not dry out too fast.  We have kept it covered with the geotextile membrane, which we wet down a minimum of 3 times a day.  The geotextile retains the moisture, and helps to keep the slab cool.  Being white, it also helps reflect some of the sunlight.  We will do this for about 1 week - 10 days.

Wednesday 2 June 2010

Day 52 - Limecrete slab (part 2)


Limecrete slab from start to finish.


The last barrow being tipped!  Done by midday again!


Around pipes, where it was not possible to get the hand tamp, floats were used to level the slab.


...then levelled by dragging the hand tamp from side to side.  The limecrete was not tamped as you would with a concrete slab.  With a concrete slab this would bring the water to the surface, however with limecrete the reverse happens and it would bring the lightweight aggregate to the surface.  Tamping would also make the slab too dense which would inhibit its breathability.


Once the limecrete had been tipped roughly in place, it was leveled out with a rake...


Next barrow moves into position - careful not to spill a drop!


Still mixing...


Making its way down to the footprint...


Another barrow almost full.  Small barrows took about 40seconds to fill, larger barrows (like this one) about 1 minute.


After two hours work, another quarter complete (now 3/4 done).


Queuing up ready to fill.  3-4 people on barrows made light work of the tipping.  2 people would have been non stop.


Keying the limecrete batched today to yesterdays half.


The half cast yesterday had hardened on the top enough to lightly walk on it today.  Heavy foot traffic should be avoided however.


Unfortunately the top edge of the rest broke off (it was probably a bit wet still), but there was still a good enough key for the next half.


The dovetail joint in the limecrete after the shutter was removed...

Tuesday 1 June 2010

Day 51 - Limecrete slab (part 1)


The dovetail shutter in place.  Just need to fill the last little bit in and thats it for today - finished by midday!  Light rain started about 11.30am, so we covered the slab we had already done with more geotextile membrane to protect it.  By the time the main rain set in, we had packed up and were under cover!


The slab will be cast in two halves - today and tomorrow.  The first half will be cast up to this dovetailed stop, which will be placed half way.  This will create a key for the limecrete cast tomorrow.  The timber shutter was wet down before being put in place.  No movement joint is required between the two halves, only around the perimeter.