Tuesday, 8 February 2011

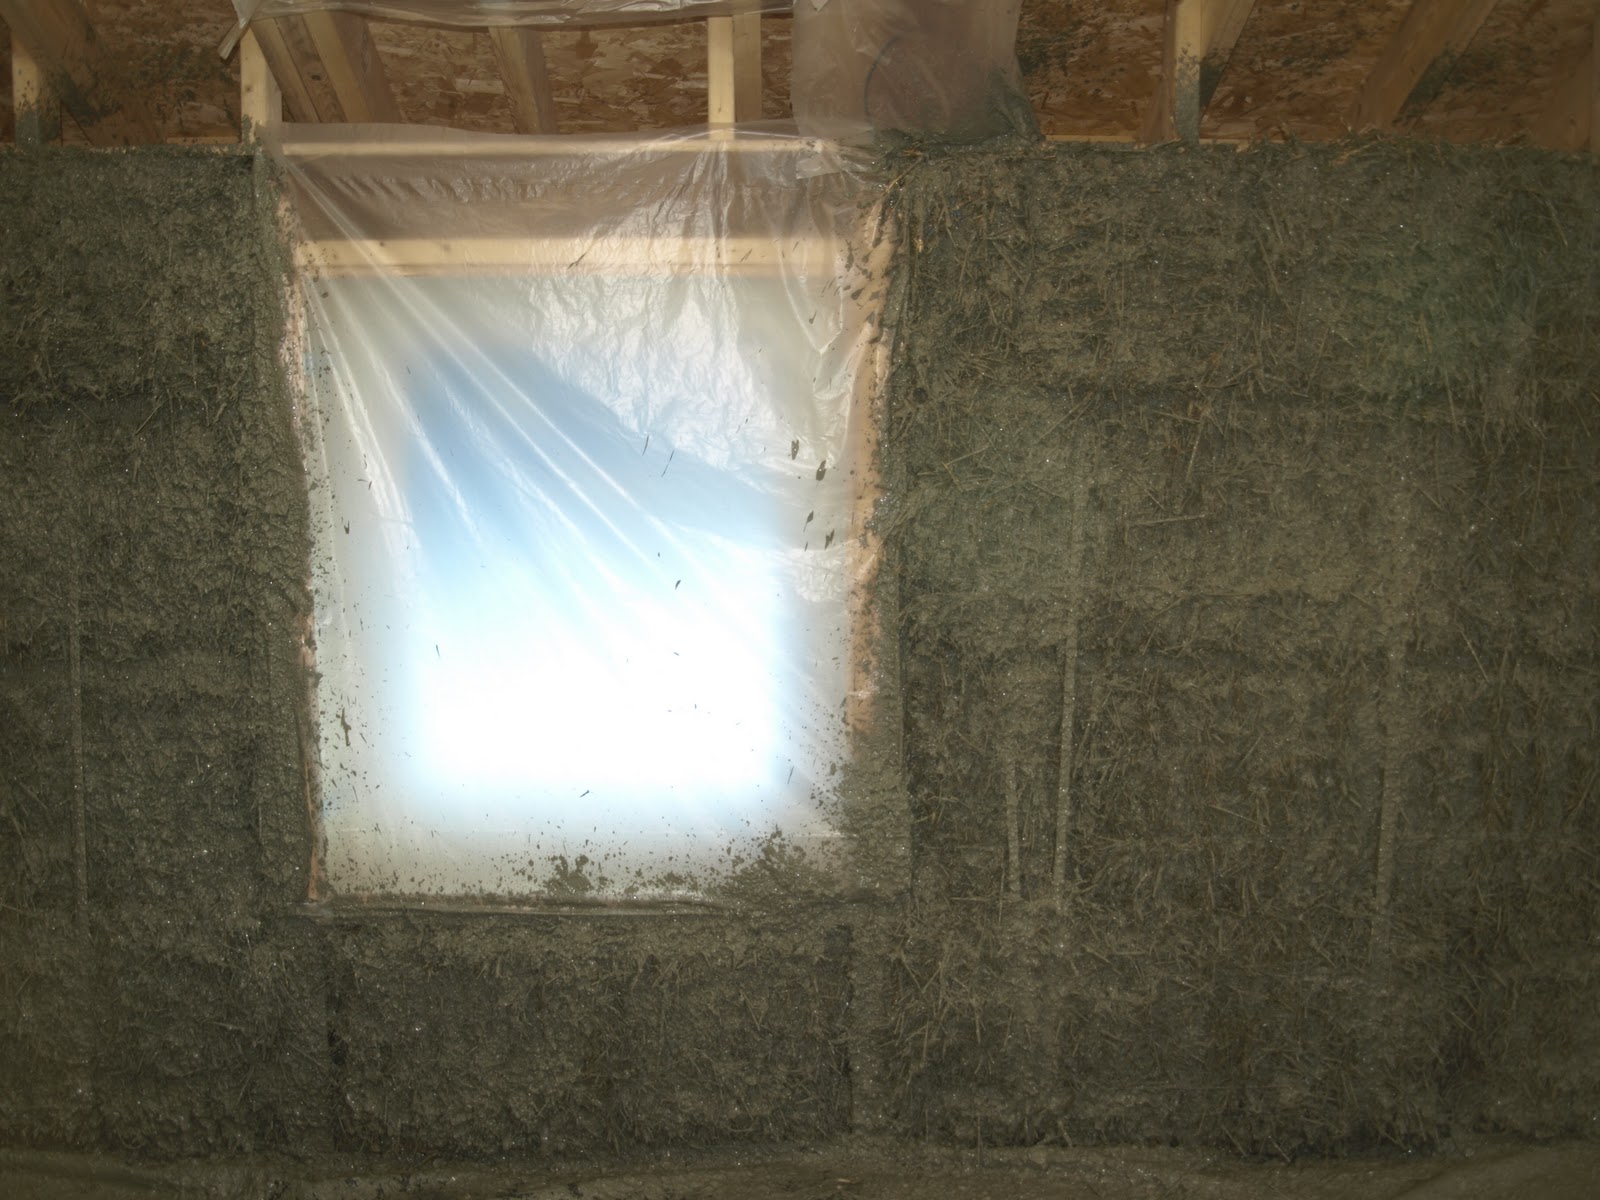
Day 299 - Internal clay slip complete


The new power mixer was at least twice as quick to mix the clay slip and ten times more comfortable!

As a result we finished all the clay slip!

Having applied all the external clay slip by hand (rather than with the render gun), we reckoned it was about twice as quick with the gun.  Working the clay into the straw by hand was also quite hard on the fingers.  Having said that the gun was quite heavy to use for long periods of time!

We also had a go at applying the scratch coat with the gun (a mix of clay slip, sand and fibre).  Externally we used chopped straw as the fibre, however we did not think this would go through the render gun.  So we used hemp shiv instead.  It did go through the gun, however it was not very quick and we concluded a reasonable plasterer could apply it faster by hand.


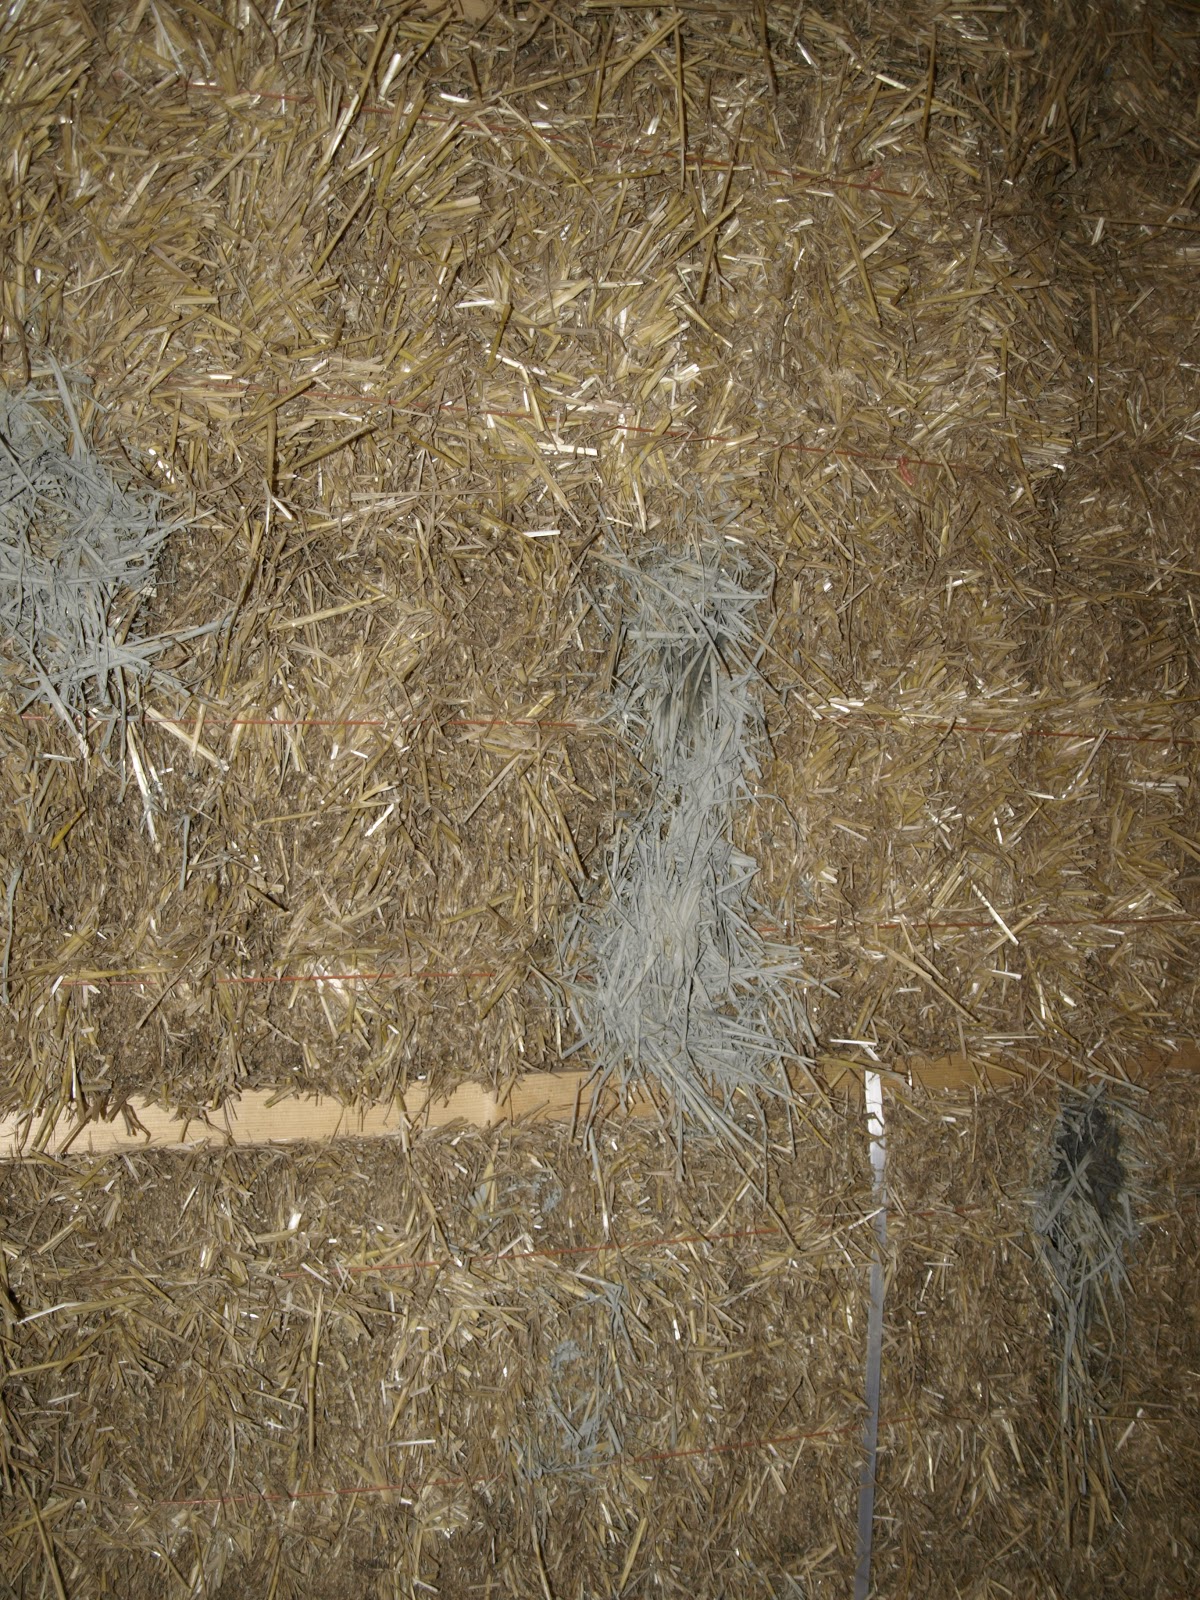


The new power mixer has arrived!

Monday, 7 February 2011

Day 298


4.5 holes complete, only 71.5 to go!


So we made a start on filling the gaps above the first floor bales, between the rafters with hemp and lime insulation.


So we didn't manage to get much clay slip sprayed upstairs - we just about made it to the stairs.


The old drill finally packed in today, it definitely looks like it has seen better days!  It struggled with this red paddle as well and we had to settle for the small blue one, which was slow to mix.

Sunday, 6 February 2011

Day 297


This was our favourite, and the one we think we are going to go ahead with.  The sample has not had the final sealer / hardener on it yet.  The aggregate is recycled from the ceramics industry.


The Limecrete Company kindly bought us some samples of their polished lime screeds today to have a look at.  The aggregates vary and include some recycled materials and by-products of other industries, which together with the sand, produce very different effects.


We finished the slip coat on the rest of the ground floor walls today.

One lesson we learnt very quickly was to cover absolutely everything - nothing is safe from the clay!

Saturday, 5 February 2011

Day 296 - the render gun


The render gun is very fast at applying the render to the wall, the manufacturer suggests it covers about 1sq m in 10 seconds.  Each hopper only lasts a matter of seconds (if the hopper were any bigger it would make it too heavy to hold for long periods of time).

The bottle neck we had was with the mixing.  A barrow of mix took a few minutes to empty onto the wall, but took 15-20 mins to produce from soaked clay.  We are hoping to improve on this - to date we have been using an old drill (1000W) with a paddle mixer on the end.  We have been limited by the size of paddle the drill is able to turn (before you can start to smell the motor burning!).  It is also awkward to hold for long periods of time and we have also managed to bend the paddle a few times, making the vibrations quite bad.  However, we have now ordered a dedicated paddle mixer which we hope will turn up at the beginning of next week.

At the end of the first day of rendering we completed the slip coat on 1/2 of the ground floor walls.


... and we're off!


The gun filled with clay slip (clay and water mix) ready to go...


... that inserts air in through the jets shown at the bottom, which forces the render out of the three holes opposite.


The gun consists of a small hopper, in which the render is scooped up with a handle at the bottom and one on the side.  An air compressor is attached to the hopper...

Friday, 4 February 2011

Day 295 - render gun arrives


The render gun arrives... all the way from Ty Mawr in Wales.  Unfortunately we were unable to hire one closer to home, however we understand Anglia Lime are about to start hiring them again.

Sunday, 30 January 2011

Day 290 - internal straw stuffing


We have arranged to hire a render gun next weekend to spray on the slip coat on the inside of the straw bale walls.  In preparation we have stuffed all the holes / gaps between the bales with dry straw (in deep holes) and straw dipped in clay (in the shallow holes).  Next weekend should be interesting...!

Thursday, 20 January 2011

Day 280 - cladding complete on west elevation


The complete cladding on west elevation.  It is almost beginning to look like a house!  Just the sliding doors needed to complete this elevation.


Close up view of the cladding, with random joints; mill finish aluminum flashing and brickwork (which needs cleaning!).

Tuesday, 18 January 2011

Day 277 - starting the vertical cedar cladding


We made a start on the main vertical cedar cladding on the west elevation yesterday.  Looking good!

Sunday, 9 January 2011

Day 269


The sills have set well with no cracks.