Saturday, 31 December 2011

Magnesium board


Carrying on in the ensuite we moved onto progressing the floor.  To try and minimise impact sound from people walking upstairs we are laying a wood fibre acoustic underlay throughout the first floor (foxtrot board).  Generally the floor boards will then be laid on top of this, except in the bathrooms, where the final floor finish will be tiles.


On top of the acoustic underlay in the bathrooms we are laying a tile backer board - in this case Magnesium board.  The installation instructions suggest that to cut the board the 'score and snap' method is used.  When the boards were delivered we were told that they were a nightmare to cut - very dusty and brittle.  We were very nervous about using it - particularly about cutting some of the more complex shapes out!  Luckily though it was neither of these things!


It cut very well and very accurately with a jigsaw.


The first sheet laid in the ensuite.


We also finished off the air barrier by sealing all the edges.  The most challenging edge to seal was the one against the clay plaster on the straw bales.  The manufacturer recommends priming dusty surfaces and then using their Orcon Airtight glue - running a bead in the primer and then adhering the membrane.  However the method we found most successful was to prime the clay, extending the primer slightly below the edge of the membrane.  We then used some of the general purpose flexible sealing tape (Tescon No1) which we stuck to the edge of the membrane and into the primed clay.  This seemed to work really well.

Friday, 30 December 2011

Back after a Christmas break...


First up we thought we would test out the best way to fit the service back boxes into the reed mat.

The noggin the back box is fitted to sits 10mm back from the back of the studs.  Where the reeds are cut either side of the box there was a lot of play in the reeds and we ended up fitting a 10mm packer either side of the box to support the ends of the cut reeds.  When the time comes we will need to do this to every back box.


Next we moved up into the ensuite bathroom.  We constructed the shelf in the shower.


Finally the hemp and lime insulation in the eaves is dry and we made a start on fitting the air barrier.  We started in the ensuite.  The membrane we are using is the Proclima Intello plus, which is a smart breathable air barrier.

Wednesday, 21 December 2011

Ensuite shower


Setting up the shower...


Tuesday, 20 December 2011

More plumbing


Pipes in the floor zone will feed the family bathrooom...


...pipes popping up in the family bathroom!


The downstairs WC.

Sunday, 18 December 2011

Still more studwork!


Starting to fix the noggins for the electrical sockets, switches and lights.  This will be for the light switch for the ensuite!


More work on the ensuite shower studwork...


At last the hemp and lime insulation in the eaves is pretty much dry, which means we can finish off the sheeps wool.  We have started with the ensuite and will put up the airtightness membrane next.

Thursday, 15 December 2011

Electrical cables start going in


Just a few of the many cables!


Cables all pulled through to where they need to be.  The next step is to fix the noggins for the back boxes, light fittings etc

Tuesday, 13 December 2011

More plumbing


Monday, 12 December 2011

Plumbing begins!


The first pipework is fitted!


These pipes will be concealed behind the kitchen cupboards.  Hot and cold supplies will feed the ensuite and the kitchen.


The hot and cold supplies and drainage for the kitchen sink.


The hot and cold supplies for the shower, and the shower tray in position.

Sunday, 11 December 2011

Ensuite studwork


Now we have had the shower tray delivered we are adjusting the shower enclosure to suit the tray.


Setting up the studwork at the end for the panel behind the WC.

Saturday, 10 December 2011

A bit of extra tiling


A bit of extra tiling in the utility room near the external door (along the side of the door mat). This will give a bit more space to the hot water cylinder.

Friday, 9 December 2011

Heat pump delivery!


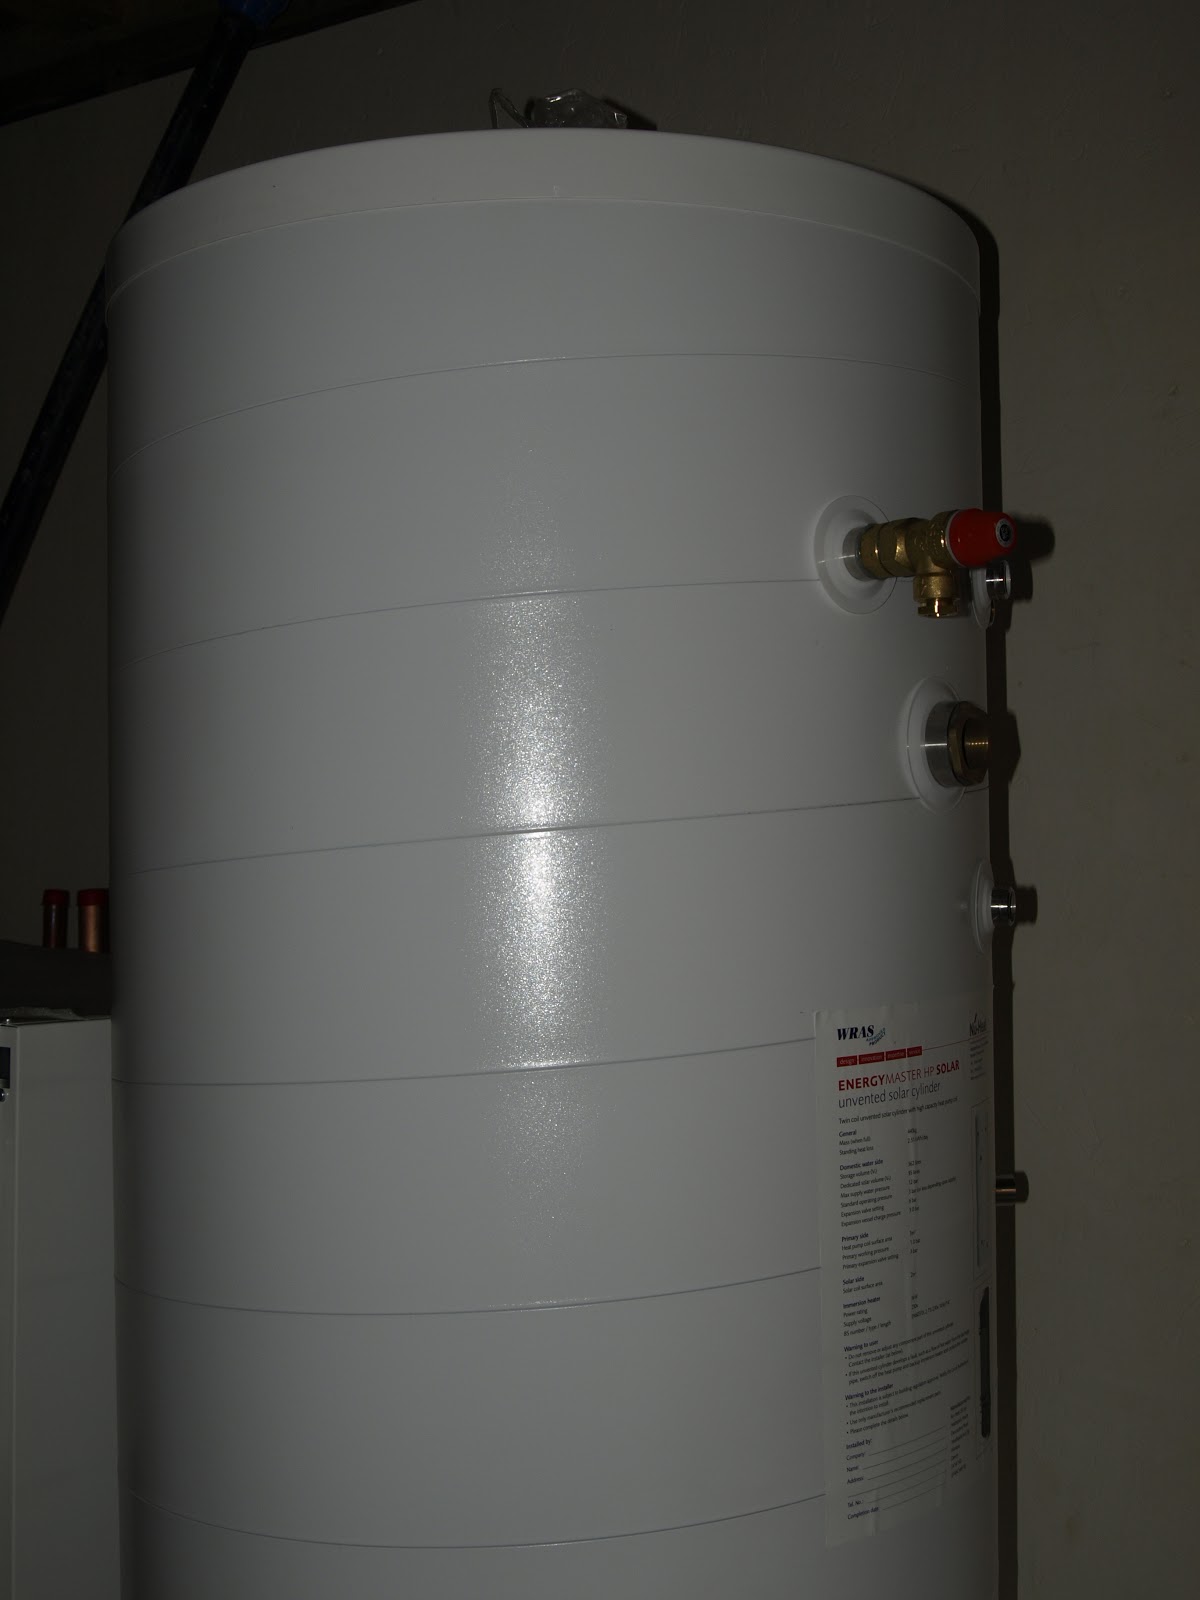
The heat pump, cylinder and buffer tank were all delivered today...!  They just about all fit in!


The solar cylinder.


The heat pump - with the front panel taken off.

Sunday, 4 December 2011

More tiling...


Some of the tiles we laid didn't adhere very well because the mix was too dry when we laid it.  The lime screed also needs to be well wetted down before laying the mortar to bed the tiles (the screed sucks the moisture out of the mortar very fast).  As the heat pump has been delayed we decided to relay the tiles to make sure they are all well bedded.

Wednesday, 30 November 2011

Heat pump update

The heat pump was due to be delivered today but it has been delayed until the 9th December as the cylinder wasn't ready.

Sunday, 27 November 2011

Overboarding bathroom


Back on the studwork this weekend.  Overboarding the straw walls in the family bathroom to provide something to fix pipework to and joinery, vanity tops etc.


Sunday, 20 November 2011

Tiling!


A break from studwork this weekend to tile the utiity room ready for the heat pump and cylinder to arrive on 30th November.  First off setting out...


Then setting the aluminum angle which forms the edge of the mat well.

Starting laying, using a lime mortar (2:1).  We weren't sure how wet to make the mix, so we started with it quite dry.

The first bit complete!  It took us ages to do this tiny bit...!

Sunday, 13 November 2011

Timber overboarding to kitchen wall


The clay plaster is now dry and so we started building the timber stud wall which sits infront of the clay.  We are only overboarding a few of the straw walls - this one will have all the kitchen units and cupboards fixed to it (it would have been difficult to fix into the straw).

Wednesday, 2 November 2011

The Self Builder


Our first article published in The Self Builder with Nu-Heat, who are supplying all our underfloor heating, ground source heat pump and solar thermal panels.  Check it out!

Designed to Breathe in The Self Builder


Sunday, 23 October 2011

Studwork to the entrance lobby


We made a start on the studwork to the entrance lobby, there will be a built in cupboard against this wall for coats and shoes!

Saturday, 22 October 2011

Plastering the kitchen wall


I forgot to say earlier that before we plaster onto the straw walls (with clay slip coat on them already) we wet them down.


We set ourselves a massive task today of plastering the whole kitchen / stair wall.  So we got busy...!


I am pleased to report we managed to plaster the whole wall...


... and in addition we also managed to plaster  the lobby wall!  Well done everyone!

Friday, 21 October 2011

Teasels


The garden is full of teasels at the moment!

Back on the clay


Some cracks have started to open up on the first section of wall we plastered on Tuesday.  We think this was to do with the straw substraight - it is very uneven and there are areas that are slightly more springy.


We are trying pushing the cracked area of clay in...


... and plastering over it.


The wall plastered today is in bedroom 4.