Sunday, 26 August 2012
Monday, 20 August 2012
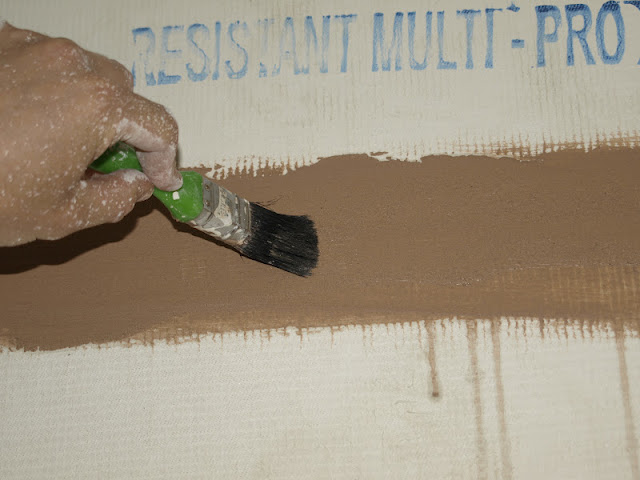
Priming MgO boards
We are using another type of primer on some of the boards - Magnaprime. This is not a gritty primer like the DG27 but it does control the suction of the boards.
The first place we are using it is in the ensuite. Here we are using Tadelakt plaster, which a water proof lime plaster that can be used in wetrooms including showers. This plaster has a different build up to the lime and clay plaster elsewhere and this is the first coat to go on the magnesium silicate boards. We will say more about the plaster when we get to it - which hopefully will be in the not too distant future.
The second place is in the family bathroom, underneath the wall tiling.
Elsewhere we are still pressing on with the boarding!
Sunday, 19 August 2012
Magnesium silicate board
To date we have been using 9mm Resistant Multi Pro XS board for boarding the internal walls and ceilings. However we were unable to get this last delivery and we had Resistant Multi Pro instead. The difference between the two is that the XS board has four layers of mesh, while the multi pro only has two layers which gives it extra strength. The extra strength is important if you were using it as a racking board for example but for us it wasn't critical so we gave the multi-pro board a go. Whilst these board are less expensive they have not bee as easy to work with. They are much more brittle and tend to crack much more easily. The corners are particularly prone to breaking and are incredibly difficult to fix and keep in tact!
There are various methods that can be used to cut the boards, the most common is by scoring and snapping. In some cases this is not possible, for example if you only want to take a small strip off or if you need to cut out a socket. Other methods can be used, for example hand sawing, or jigsawing. The board are very hard though and tend to blunt everything amazingly quickly! One really good way of taking a small about off the board is by using these - blacksmiths files/ rasps.
We tried carpentars rasps but they were forever blunting, but these blacksmiths files stay amazingly sharp and you can be very accurate with them. They don't look much but trust me they're great! What is even better is that these ones were being thrown out by a blacksmith, so we are giving them a new lease of life!
Sunday, 12 August 2012
Preparing the board for plastering
Preparing the magnesium board before plastering (clay/ lime) involves taping the joints between the boards, securing the tape by putting a thin coat of Gypsum plaster over them. To get this really smooth and flat we found the best way was to mix up the gypsum so it was quite wet and paint it over the tape.
The next step is to prime the whole lot. Generally we are using DG27 which is a gritty primer. This controls the suction of the boards and provides a key for the plaster. We have started preparing some of the boards, so hopefully some can start to be plastered while we are still finishing boarding in other areas.
Subscribe to:
Comments (Atom)


