Sunday, 23 October 2011
Saturday, 22 October 2011
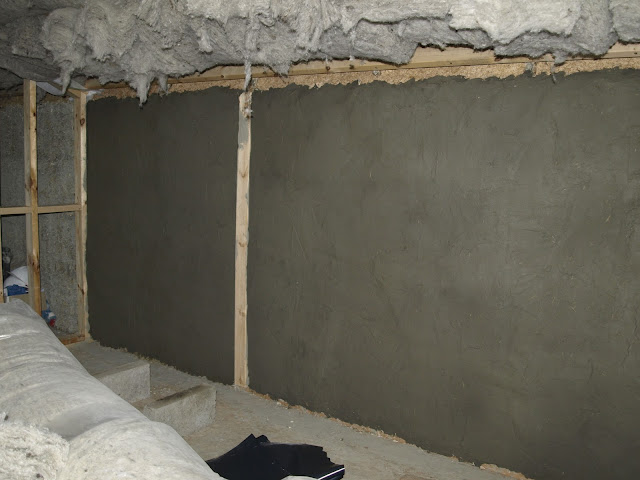
Plastering the kitchen wall
I forgot to say earlier that before we plaster onto the straw walls (with clay slip coat on them already) we wet them down.
We set ourselves a massive task today of plastering the whole kitchen / stair wall. So we got busy...!
I am pleased to report we managed to plaster the whole wall...
... and in addition we also managed to plaster the lobby wall! Well done everyone!
Friday, 21 October 2011
Back on the clay
Some cracks have started to open up on the first section of wall we plastered on Tuesday. We think this was to do with the straw substraight - it is very uneven and there are areas that are slightly more springy.
We are trying pushing the cracked area of clay in...
... and plastering over it.
The wall plastered today is in bedroom 4.
Tuesday, 18 October 2011
First day of clay plastering
We have soaked the milled clay from Cambridgeshire Brick and Tile for over 24 hours. This is the soaked clay.
Add water...
Mix into ...
... a clay slip...
add sand...
...mix...
lastly...
mix in chopped straw
buckets of clay ready to go!
The first wall to be plastered is in the master bedroom- this will be behind the wardrobe
The first wall complete!
Add water...
Mix into ...
... a clay slip...
add sand...
...mix...
lastly...
mix in chopped straw
buckets of clay ready to go!
The first wall to be plastered is in the master bedroom- this will be behind the wardrobe
The first wall complete!
Monday, 17 October 2011
Preparing for clay plastering
Some of the straw walls are going to be overboarded, for example behind the kitchen units, where we need to be able to fix cupboards etc. The plan this week is to clay plaster the walls that will be overboarded.
One of the challenges is how to get the clay up to the first floor... so we built a hoist! It is made of a timber frame, on which we fixed yacht pulleys...
We constructed a small platform which would fit up the stair void next to the ladder (without having to remove the ladder). Chains fixed to the platform hooked onto the hook on the hoist.
Time for a test run...
The hoist in action!
Subscribe to:
Comments (Atom)


