Sunday, 14 April 2013

Beginning to lay bathroom floor tiles


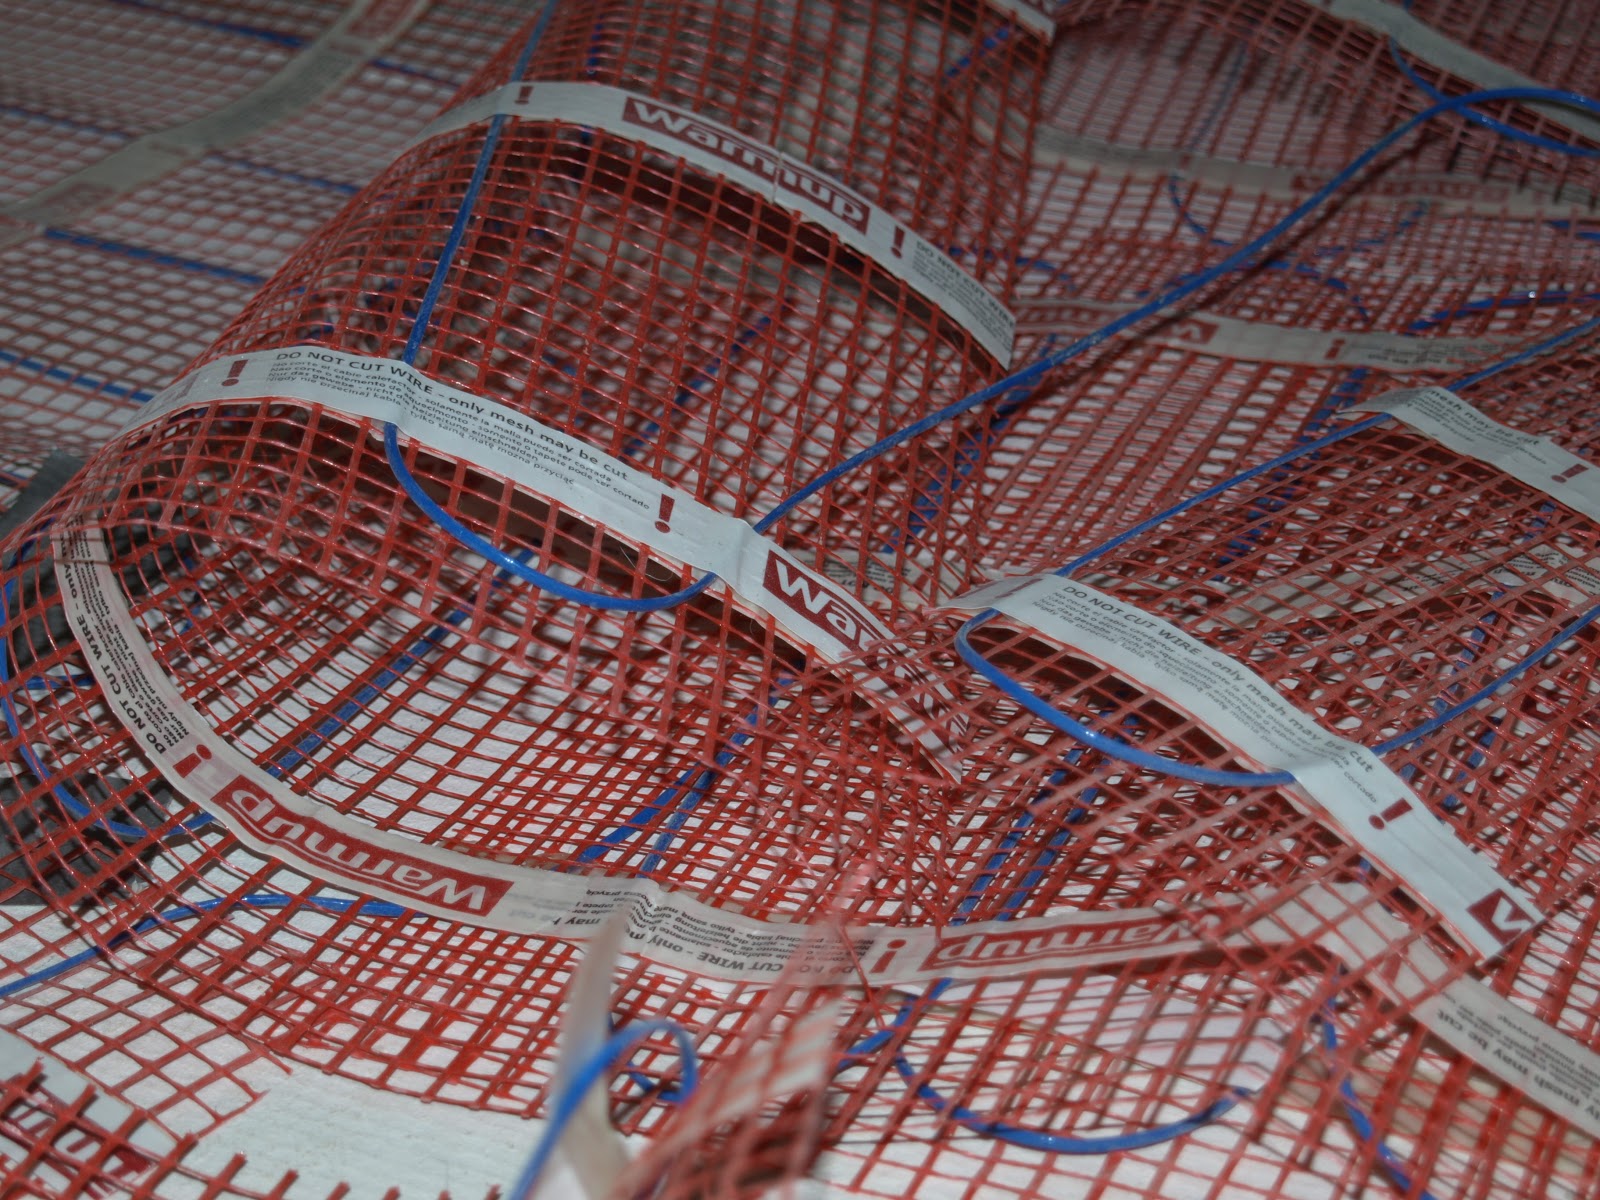
Rolling out the underfloor heating mat to go under the floor tiling.


Chasing in the sensor to fit under the tiles.


Setting out the line of the first row of tiles.


Laying the first row of tiles in the ensuite.  Tiles are bedded in a lime mortar.


Levelling the tiles.


First row of tiles in the ensuite complete.

Friday, 12 April 2013

Ensuite and WC mirror arrive


Mirrors unloaded and waiting to be fixed - unfortunately currently no fixing holes.


Holes drilled for the lights to be fixed onto the mirror in the ensuite.

Sunday, 7 April 2013

Setting out floor tiles in bathrooms


Uncovering the dusty tiles that we bought about 2 years ago!


Luckily we still like them.


Cutting the tiles.


Setting the tiles out dry.


Setting the tiles out in the family bathroom.

Saturday, 6 April 2013

Getting ready to tile


Getting ready to tile. Waterproof primer applied to magnesium tile backer boards ready for wall tiling.

Saturday, 22 December 2012

Table tennis!


Its amazing how much fun can you have on a building site - bring on the table tennis championship!  Steve, your scaffolding is endlessly useful!

Its a real mystery why we haven't finished the house yet after 2 1/2 years!

Saturday, 15 December 2012

Plastering the GF ceiling


The main living space and hall ceiling plastered in one hit in fibre lime chalk plaster.


Sunday, 9 December 2012

Limewash part 2


We have now had a go at mixing our own limewash on site.  We used hydrated lime mixed 2-1 with water.  When we mix the top coat we will add a small amount of raw linseed oil which will stop the surface being dusty.  It seemed to mix up fine - needed a good amount of mixing though.  So far so good!

Saturday, 8 December 2012

Studwork in the master bed


Building the studwork screen between the master bed and dressing room.

Sunday, 25 November 2012

Preparing the GF ceiling


Ground floor ceiling being prepped ready for plastering.

Saturday, 24 November 2012

Chalk plaster


We're trying out a new plaster today - it is a chalk - lime mix with polypropylene fibres.


It is a pre-mixed product by Fibrelime.  It comes to site in tubs.


After it has been knocked up with a splash of water.


It works best when a fairly tight coat of approx 2-3mm.  When we tried it thicker than this it was difficult to get it flat, as it was difficult to rule.


A finished wall (and the right hand side of the ceiling - the other side is lime-sand mix).

The fibrelime gives a really nice silky finish - probably the nicest finish of all the mixes we have tried to date.  We are going to stick with this mix for the foreseeable future!

Saturday, 17 November 2012

Progress

The bathroom plastered and limewashing underway.


Bedroom 3 also plastered and clay wall limewashed, with window lining also limewashed.

Friday, 16 November 2012

Limewash

Next up is limewash.  This is a pre-mixed version bought from Mike Wye.


This is what it looks like when mixed up.  Like  the casein paint when applied it becomes translucent and looks awful until it dries and becomes opaque.  It is built up in a number of coats, we are doing about 4.  Because it is translucent when applied it makes it very difficult to see where you have been.  It can be used on plaster and on wood.  On the lime plaster it becomes part of the lime plaster, and any cracks completely disappear.  We wet the plaster down before the first coat if it is dry but the limewash can be applied as soon as the plaster can take a brush.  We have not been wetting it down between coats as the water tends to just run off when we have tried.

We are going to mix the next limewash up on site.  There are various ways this can be done, with either lime putty, hydrated lime or hydraulic lime.  We are going to try hydrated lime mixed 1:2 with water.  In the top coat we are adding some raw linseed oil to stop the surface from being dusty.  We are bought 100% linseed oil, as some makes have other additives in them.  We'll let you know how we get on!

Wednesday, 14 November 2012

Casein paint


We have started trying out alternative paints.  First up is casein paint.  This is a highly breathable paint free from VOCs, acrylics, oils and solvents.  It comes as a powder which you mix with water.  Two coats are recommended and it is more expensive than limewash per coat but less expensive than earthborne clay paint.  The paint produced a nice mat finish but it did not fill into the cracks in the lime plaster, but sat on top similar to a more conventional paint.

Tuesday, 13 November 2012

Clay plaster


We have used clay finish plaster on both the clay plaster on the straw walls and on the magnesium board.  This clay is made and sold by Womersleys.  When applied it tends to roll off the trowel, it can be applied thicker than the lime plasterers we tried and so on the magnesium board went over the beads better.  It was better when mixed slightly drier on the magnesium board, but the magnesium board still tended to make the plaster dry very unevenly.


It took longer to get a good finish, and it was critical to catch it just right otherwise the surface tended to become dusty and not be bound properly.  It did produce a nice finish which did not crack or shrink back.  Clay plaster does not have a 'set' like lime, it is either wet or dry and it can forever be changed from one state to the other.  This does make it more difficult to decorate, as when you work in the lime wash or paint it tends to absorb into the plaster and make it live again, rucking up the surface.  One suggestion we are going to give a go is applying the limewash with a trowel - could be interesting!

Monday, 12 November 2012

Tadelakt plaster


In the shower room we are using Tadelakt plaster to all walls and ceiling, including the walls in the shower instead of wall tiling.  Tadelakt is a waterproof lime based plaster which comes from Morocco.  The magnesium board has been primed with Magnaprime and a base coat of Limewall applied.  Following this two coats of the tadelakt are applied.


Once this has dried a polishing soap is brushed on.


This soap is made with tree oils, especially olive oils.


The surface is then polished with a special stone to produce a shine.


A second application of the soap is polished up with a lambswool bonnet.


The shower after the first application of polish and burnishing with the stone.
More plastering - master bedroom


Site mixed lime putty / kiln dried sand applied on the studwork partitions.


Undercoat of clay applied to the straw walls.

Tuesday, 30 October 2012

Lime plaster on magnesium board

The first areas we plastered were in Mike Wye 3/2 lime plaster, which we had some problems with (as already discussed).  The next plaster we tried was site mixed lime plaster.  We mixed this 1:1


Lime putty and


Kiln dried sand.  This sand is slightly courser than the sand used in the Mike Wye plaster and seems to go on the boards slightly better.  We are still having trouble getting over the beads and the plaster is still not drying as evenly as it could.  One theory is there are very slight undulations in the board which mean the thickness of the plaster varies very slightly.  We are also getting some shrinkage cracks as it dries out.

Saturday, 6 October 2012

Plastering begins!

At last we have started plastering!  We are starting with lime plaster - premixed from Mike Wye 3/2 mix, which is what we used for the test many months ago now.


The corner beads and stop beads are fitted, ready for the plaster.


Unfortunately it hasn't started as smoothly as we had hoped!  Despite the test being successful back in May we are finding that the lime plaster is going off very unevenly on the boards and the time taken to go off varies massively from board to board.  It is particularly bad around the beads.  This makes it difficult to trowel the plaster off and difficult to judge how much to put on, as it would be a disaster if it all went off at the same time and couldn't all be finished properly.


The first finished room looks good and feels really silky.  We are working with our plasterer to find a way to make the job quicker and easier.  He has tried adding more fat lime putty to the mix, which has helped a bit.

Sunday, 2 September 2012

Resistant render pro board


The Resistant render pro board compared with the multi pro board.  It will be interesting to see what the difference is when we plaster them.

Sunday, 26 August 2012

Preparing rooms to plaster


Bedroom 2 getting prepped for plastering.


Family bathroom ready for plaster.


Master bed to be prepped.


Bed 4 ceiling already plastered and walls being prepared.


Bed 3 waiting to be prepared.