Monday, 12 December 2011

Plumbing begins!


The first pipework is fitted!


These pipes will be concealed behind the kitchen cupboards.  Hot and cold supplies will feed the ensuite and the kitchen.


The hot and cold supplies and drainage for the kitchen sink.


The hot and cold supplies for the shower, and the shower tray in position.

Sunday, 11 December 2011

Ensuite studwork


Now we have had the shower tray delivered we are adjusting the shower enclosure to suit the tray.


Setting up the studwork at the end for the panel behind the WC.

Saturday, 10 December 2011

A bit of extra tiling


A bit of extra tiling in the utility room near the external door (along the side of the door mat). This will give a bit more space to the hot water cylinder.

Friday, 9 December 2011

Heat pump delivery!


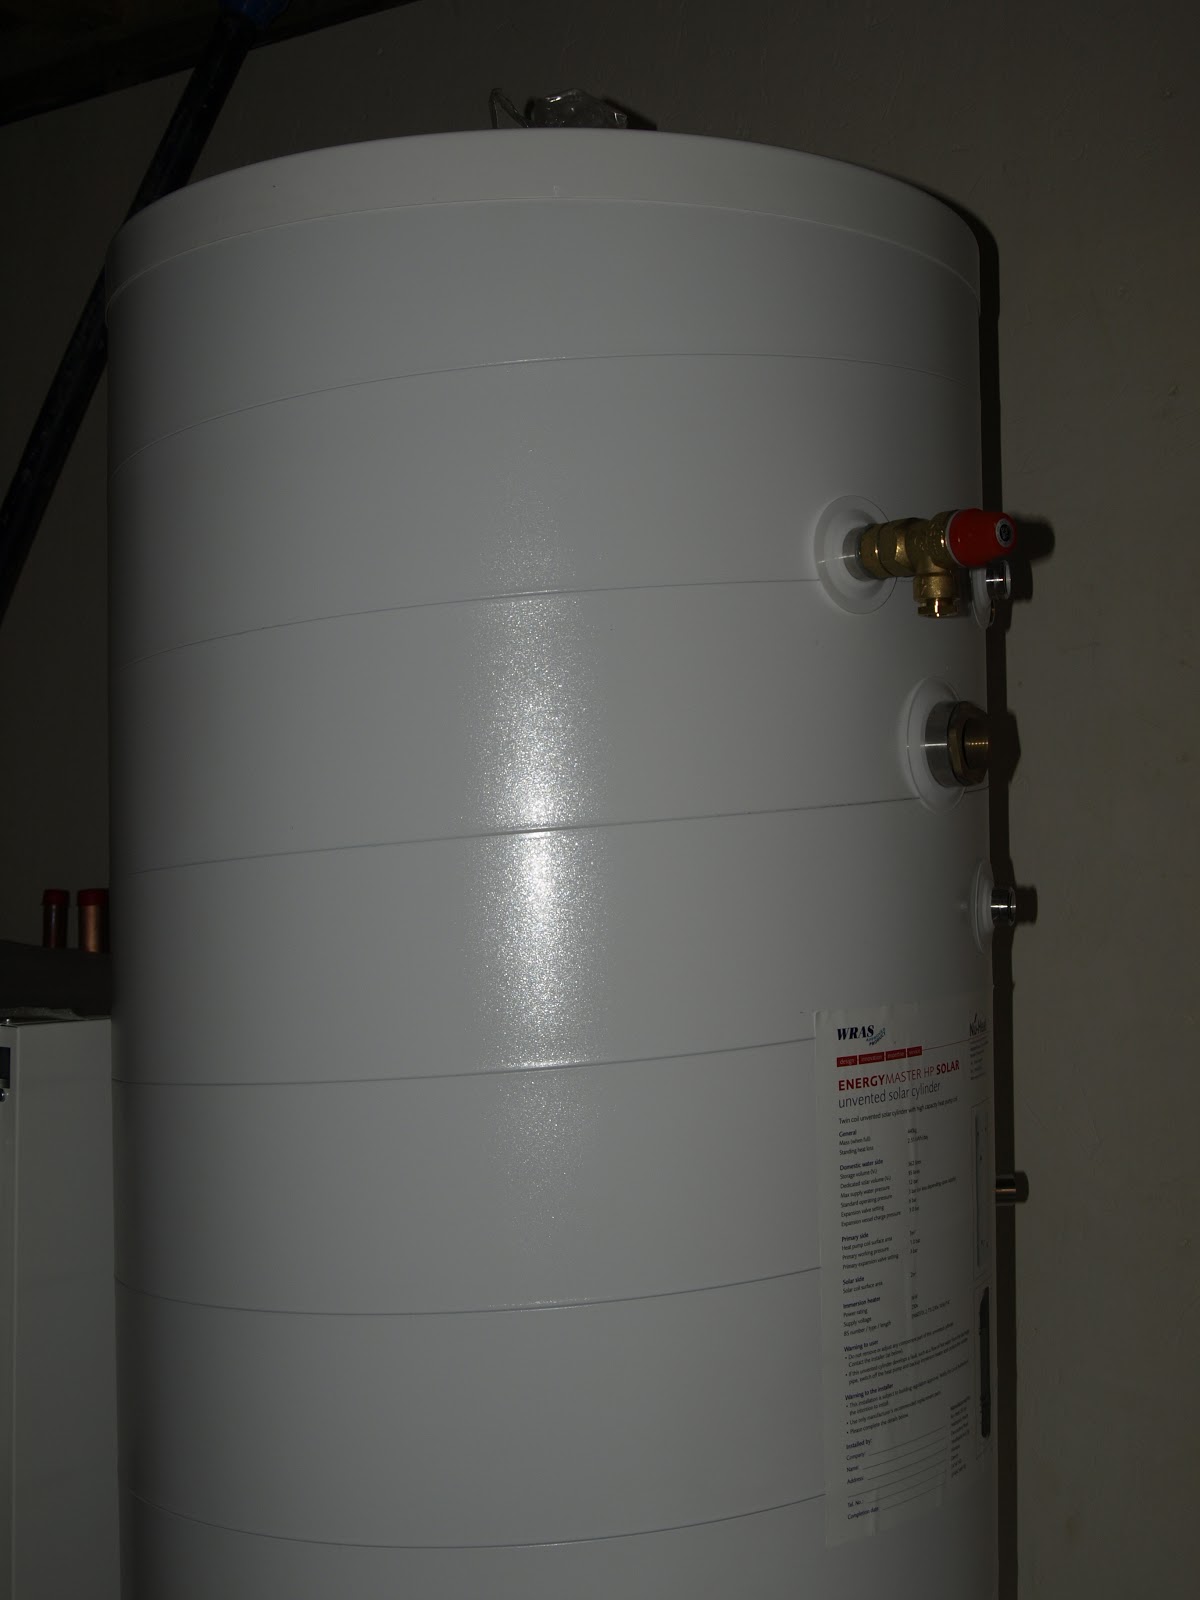
The heat pump, cylinder and buffer tank were all delivered today...!  They just about all fit in!


The solar cylinder.


The heat pump - with the front panel taken off.

Sunday, 4 December 2011

More tiling...


Some of the tiles we laid didn't adhere very well because the mix was too dry when we laid it.  The lime screed also needs to be well wetted down before laying the mortar to bed the tiles (the screed sucks the moisture out of the mortar very fast).  As the heat pump has been delayed we decided to relay the tiles to make sure they are all well bedded.

Wednesday, 30 November 2011

Heat pump update

The heat pump was due to be delivered today but it has been delayed until the 9th December as the cylinder wasn't ready.

Sunday, 27 November 2011

Overboarding bathroom


Back on the studwork this weekend.  Overboarding the straw walls in the family bathroom to provide something to fix pipework to and joinery, vanity tops etc.


Sunday, 20 November 2011

Tiling!

A break from studwork this weekend to tile the utiity room ready for the heat pump and cylinder to arrive on 30th November.  First off setting out...


Then setting the aluminum angle which forms the edge of the mat well.

Starting laying, using a lime mortar (2:1).  We weren't sure how wet to make the mix, so we started with it quite dry.

The first bit complete!  It took us ages to do this tiny bit...!

Sunday, 13 November 2011

Timber overboarding to kitchen wall


The clay plaster is now dry and so we started building the timber stud wall which sits infront of the clay.  We are only overboarding a few of the straw walls - this one will have all the kitchen units and cupboards fixed to it (it would have been difficult to fix into the straw).

Wednesday, 2 November 2011

The Self Builder


Our first article published in The Self Builder with Nu-Heat, who are supplying all our underfloor heating, ground source heat pump and solar thermal panels.  Check it out!

Designed to Breathe in The Self Builder


Sunday, 23 October 2011

Studwork to the entrance lobby


We made a start on the studwork to the entrance lobby, there will be a built in cupboard against this wall for coats and shoes!

Saturday, 22 October 2011

Plastering the kitchen wall


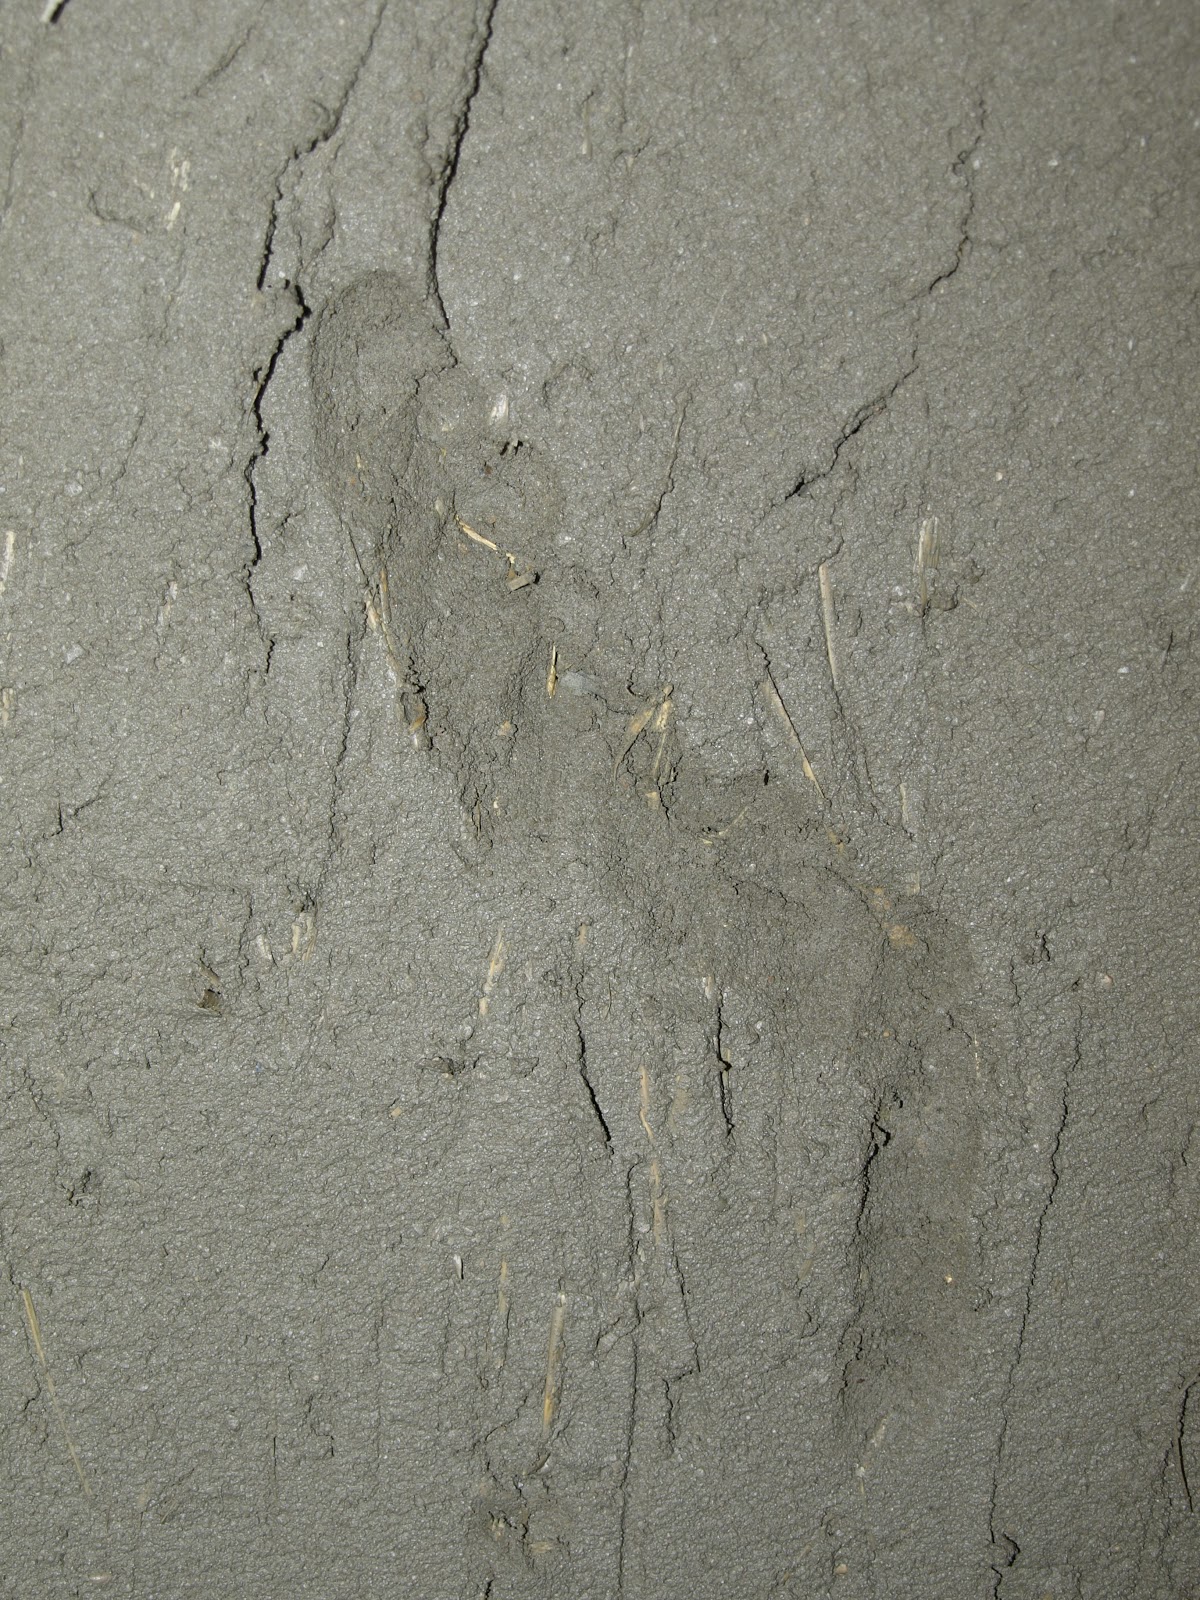
I forgot to say earlier that before we plaster onto the straw walls (with clay slip coat on them already) we wet them down.


We set ourselves a massive task today of plastering the whole kitchen / stair wall.  So we got busy...!


I am pleased to report we managed to plaster the whole wall...


... and in addition we also managed to plaster  the lobby wall!  Well done everyone!

Friday, 21 October 2011

Teasels


The garden is full of teasels at the moment!

Back on the clay


Some cracks have started to open up on the first section of wall we plastered on Tuesday.  We think this was to do with the straw substraight - it is very uneven and there are areas that are slightly more springy.


We are trying pushing the cracked area of clay in...


... and plastering over it.


The wall plastered today is in bedroom 4.

Thursday, 20 October 2011

Break from the clay!


The flooring slate arrived today


It took us a long time to unload and store it.

Wednesday, 19 October 2011

Plastering the bathrooms


Next up is the ensuite...


Then the family bathroom.

Tuesday, 18 October 2011

First day of clay plastering

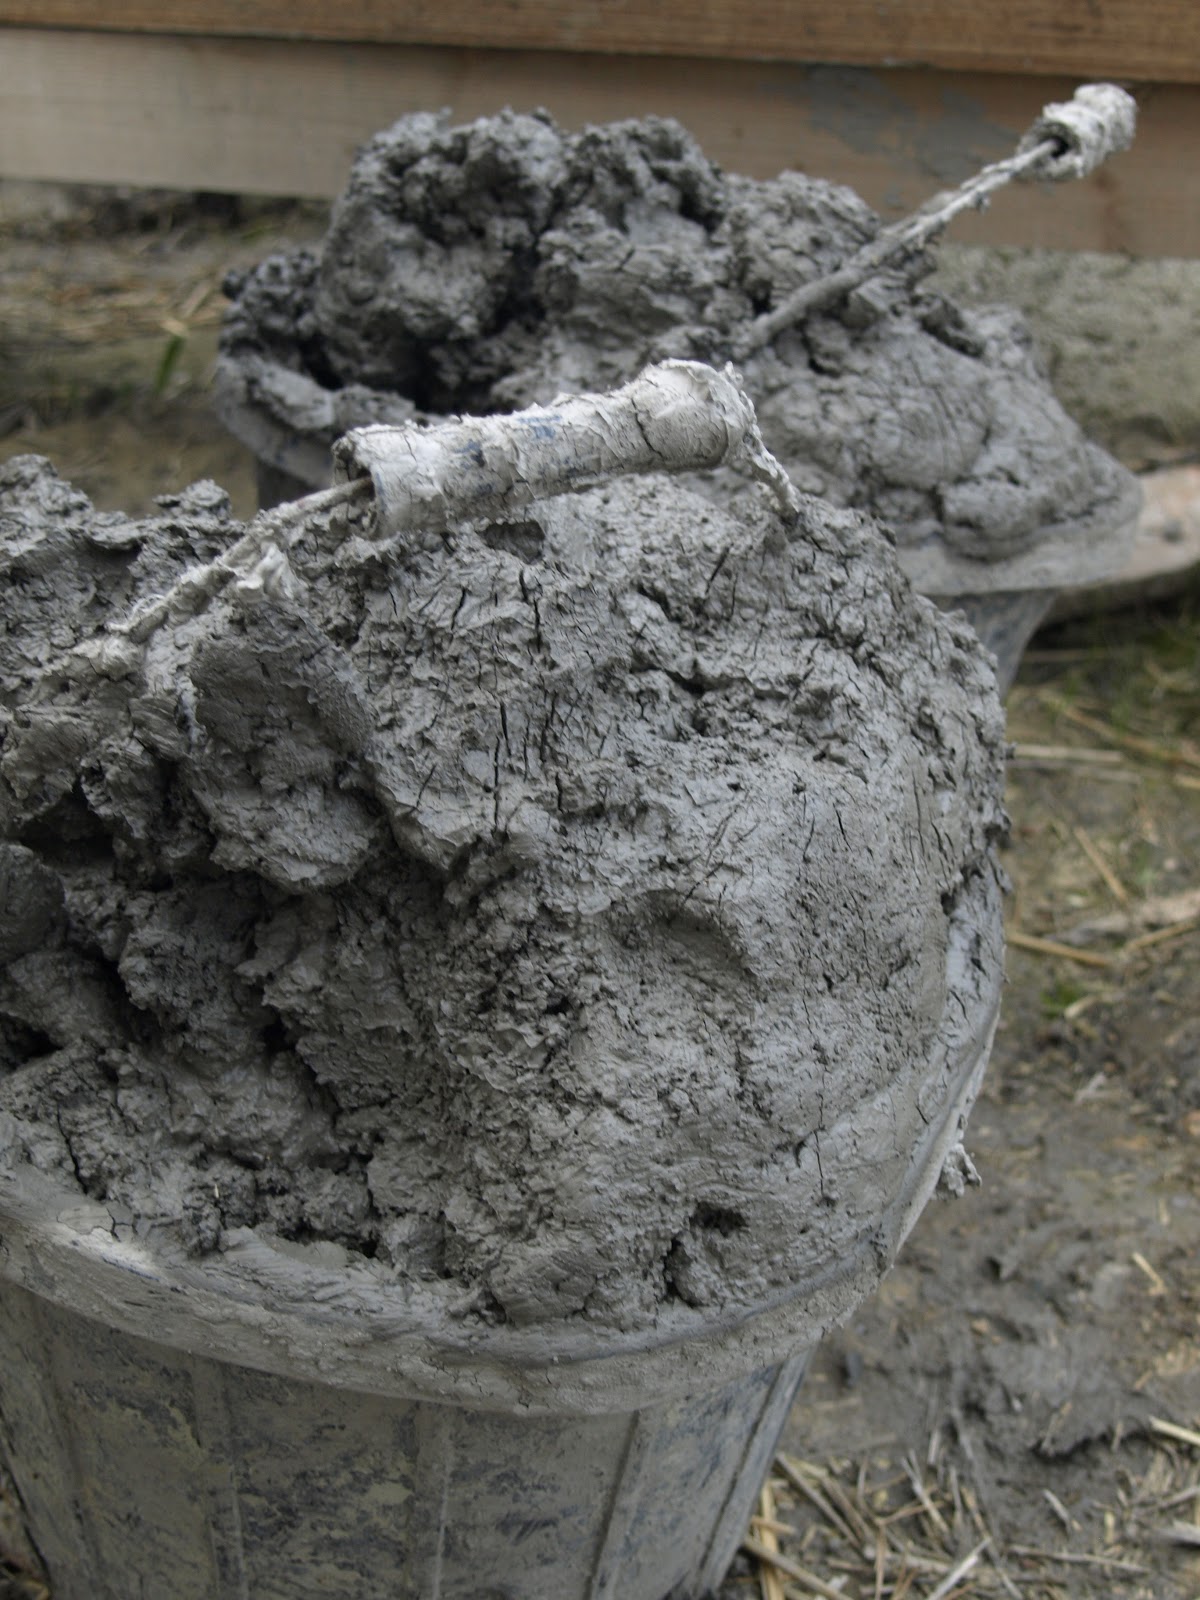
We have soaked the milled clay from Cambridgeshire Brick and Tile for over 24 hours.  This is the soaked clay.

Add water...

Mix into ...


... a clay slip...


add sand...


...mix...


lastly...


mix in chopped straw


buckets of clay ready to go!


The first wall to be plastered is in the master bedroom- this will be behind the wardrobe


The first wall complete!

Monday, 17 October 2011

Preparing for clay plastering


Some of the straw walls are going to be overboarded, for example behind the kitchen units, where we need to be able to fix cupboards etc.  The plan this week is to clay plaster the walls that will be overboarded.

One of the challenges is how to get the clay up to the first floor... so we built a hoist!  It is made of a timber frame, on which we fixed yacht pulleys...


We constructed a small platform which would fit up the stair void next to the ladder (without having to remove the ladder).  Chains fixed to the platform hooked onto the hook on the hoist.


Time for a test run...


The hoist in action!