Saturday, 12 February 2011
Friday, 11 February 2011
Thursday, 10 February 2011
Day 301 - first part of the internal scratch coat
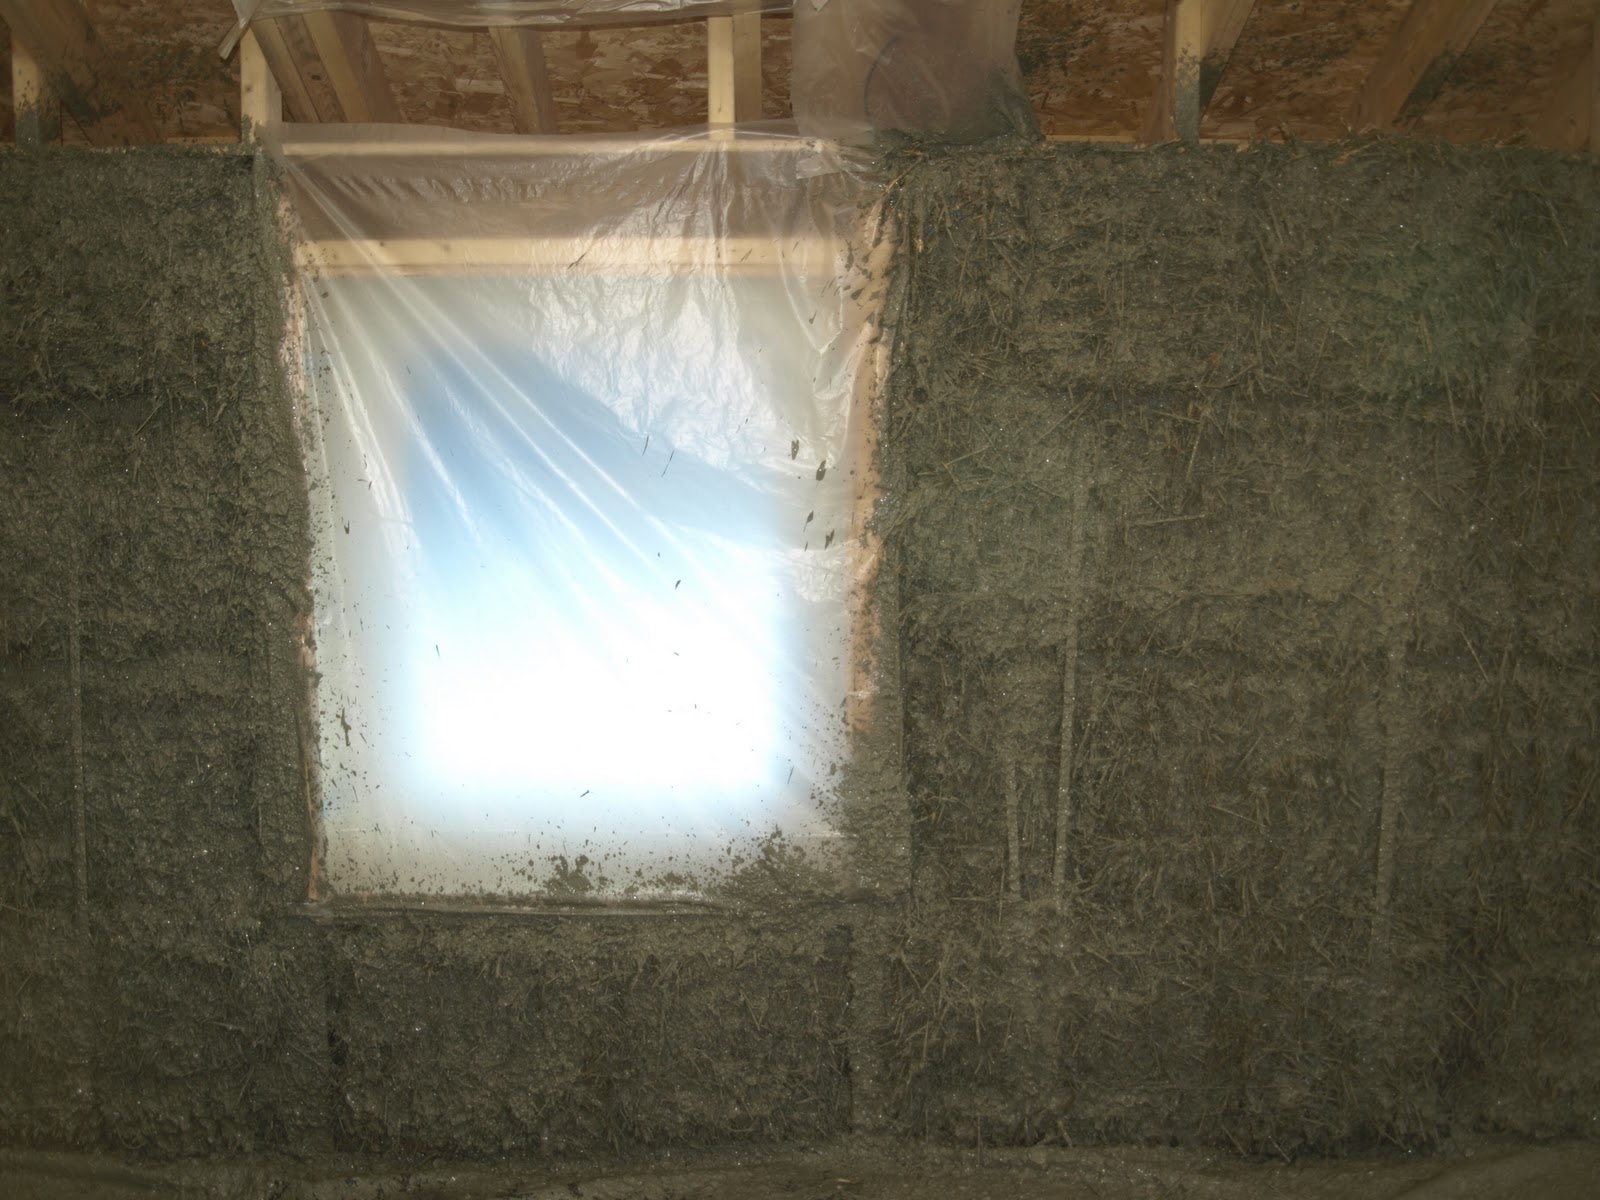
We completed the internal scratch coat on the internal side of the straw bales in what will be the utility / plant room. We will put studwork in front of this wall to fix all the plant back to shortly, so we want this to dry out quickly.
We have changed the mix of the clay render / plaster. On the dry external plaster, when the clay was aggravated it 'dusted off' the wall. This is undesirable, particularly on the internal walls, where we don't want a lot of plaster to end up on the floor everytime you touch the walls. To try and avoid this we ave increased the quantity of clay in the mix. The disadvantage of this is that will shrink more and may crack.
Wednesday, 9 February 2011
Day 300 - external rending resumed
We were back on the external rendering today. We started on the south elevation, which was the last area we rendered before the freezing weather. Since last year, some of the render had fallen off and a lot of it had lost its key from its backing and become very flaky and crumbly. We had to strip back a lot of the old render before applying the new coat, which will hopefully escape the sub-zero temperatures this time!
We completed half of the south elevation today.
Tuesday, 8 February 2011
Day 299 - Internal clay slip complete
The new power mixer was at least twice as quick to mix the clay slip and ten times more comfortable!
As a result we finished all the clay slip!
Having applied all the external clay slip by hand (rather than with the render gun), we reckoned it was about twice as quick with the gun. Working the clay into the straw by hand was also quite hard on the fingers. Having said that the gun was quite heavy to use for long periods of time!
We also had a go at applying the scratch coat with the gun (a mix of clay slip, sand and fibre). Externally we used chopped straw as the fibre, however we did not think this would go through the render gun. So we used hemp shiv instead. It did go through the gun, however it was not very quick and we concluded a reasonable plasterer could apply it faster by hand.
Monday, 7 February 2011
Sunday, 6 February 2011
The Limecrete Company kindly bought us some samples of their polished lime screeds today to have a look at. The aggregates vary and include some recycled materials and by-products of other industries, which together with the sand, produce very different effects.
Saturday, 5 February 2011
Day 296 - the render gun
The render gun is very fast at applying the render to the wall, the manufacturer suggests it covers about 1sq m in 10 seconds. Each hopper only lasts a matter of seconds (if the hopper were any bigger it would make it too heavy to hold for long periods of time).
The bottle neck we had was with the mixing. A barrow of mix took a few minutes to empty onto the wall, but took 15-20 mins to produce from soaked clay. We are hoping to improve on this - to date we have been using an old drill (1000W) with a paddle mixer on the end. We have been limited by the size of paddle the drill is able to turn (before you can start to smell the motor burning!). It is also awkward to hold for long periods of time and we have also managed to bend the paddle a few times, making the vibrations quite bad. However, we have now ordered a dedicated paddle mixer which we hope will turn up at the beginning of next week.
At the end of the first day of rendering we completed the slip coat on 1/2 of the ground floor walls.
Friday, 4 February 2011
Sunday, 30 January 2011
Day 290 - internal straw stuffing
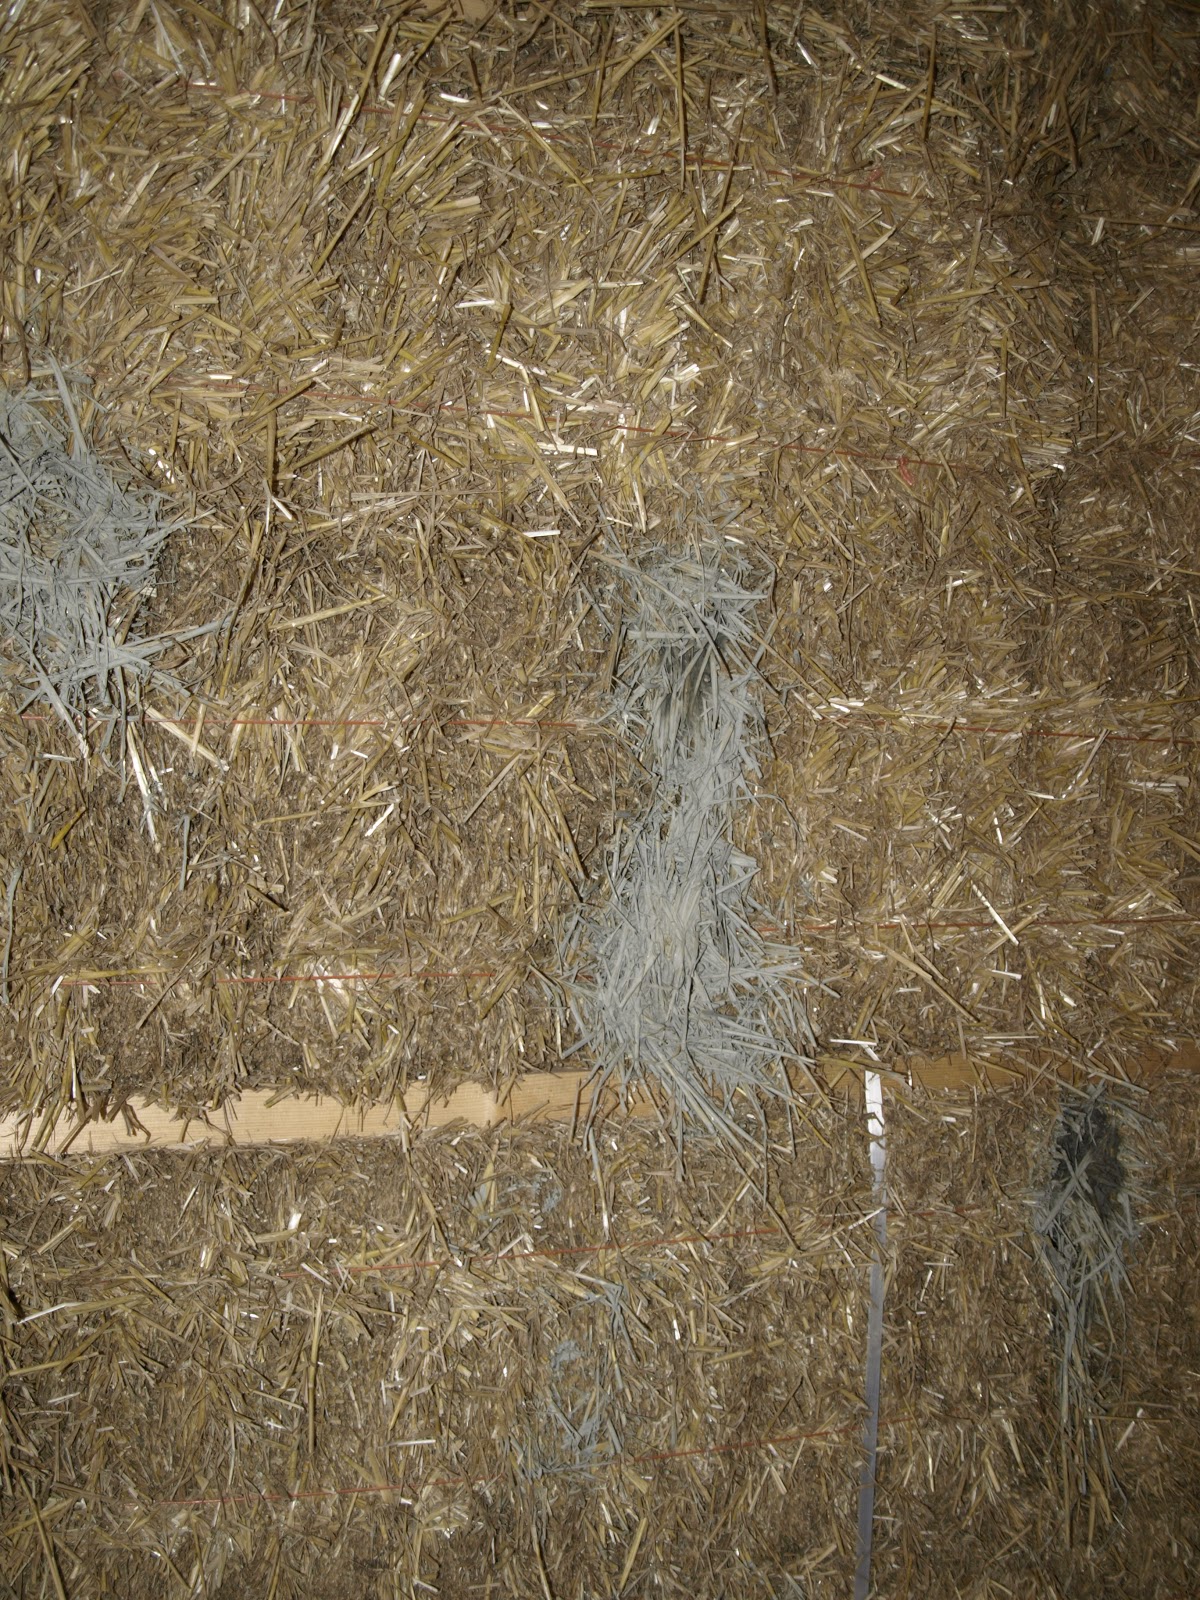
We have arranged to hire a render gun next weekend to spray on the slip coat on the inside of the straw bale walls. In preparation we have stuffed all the holes / gaps between the bales with dry straw (in deep holes) and straw dipped in clay (in the shallow holes). Next weekend should be interesting...!
Thursday, 20 January 2011
Sunday, 9 January 2011
Friday, 31 December 2010
Thursday, 30 December 2010
Day 259-casting limecrete sills
By now, we have learned better than to trust the weather so despite the milder temperatures forecast we are taking no chances! The sills have been covered with hessian, with a straw bale tunnel built round them and a low wattage (80W) electric greenhouse heater in each one. We plan to turn the heater on at night to give the temperature a boost to help them dry out faster.
The limecrete should be hard by tomorrow...
Tuesday, 21 December 2010
Sunday, 19 December 2010
Day 248
We need to cast a limecrete sill under each of the sets of sliding doors, and the quicker we can get this done the sooner we can order the sliding doors. The freezing weather has not been very helpful, as lime likes a minimum external temperature of 3degrees C.
To try and get round this we had an idea that we could build a straw bale tunnel over each of the sills and put an electric greenhouse heater in each one, with the aim of keeping the internal temperature above 3deg C. We constructed one of the tunnels to see what sort of temperature we would be able to maintain within the tunnel, to see if the idea would work...
...we found that the temperature was on average about 4 degrees higher within the tunnel than the external air temperature (there were a few gaps between the bales we couldn't do much about). This was simply not enough when the external air temperature is between -5 and -10, as it is at the moment! So we will have to wait until there is a break in the weather before casting the sills.
Friday, 17 December 2010
Sunday, 12 December 2010
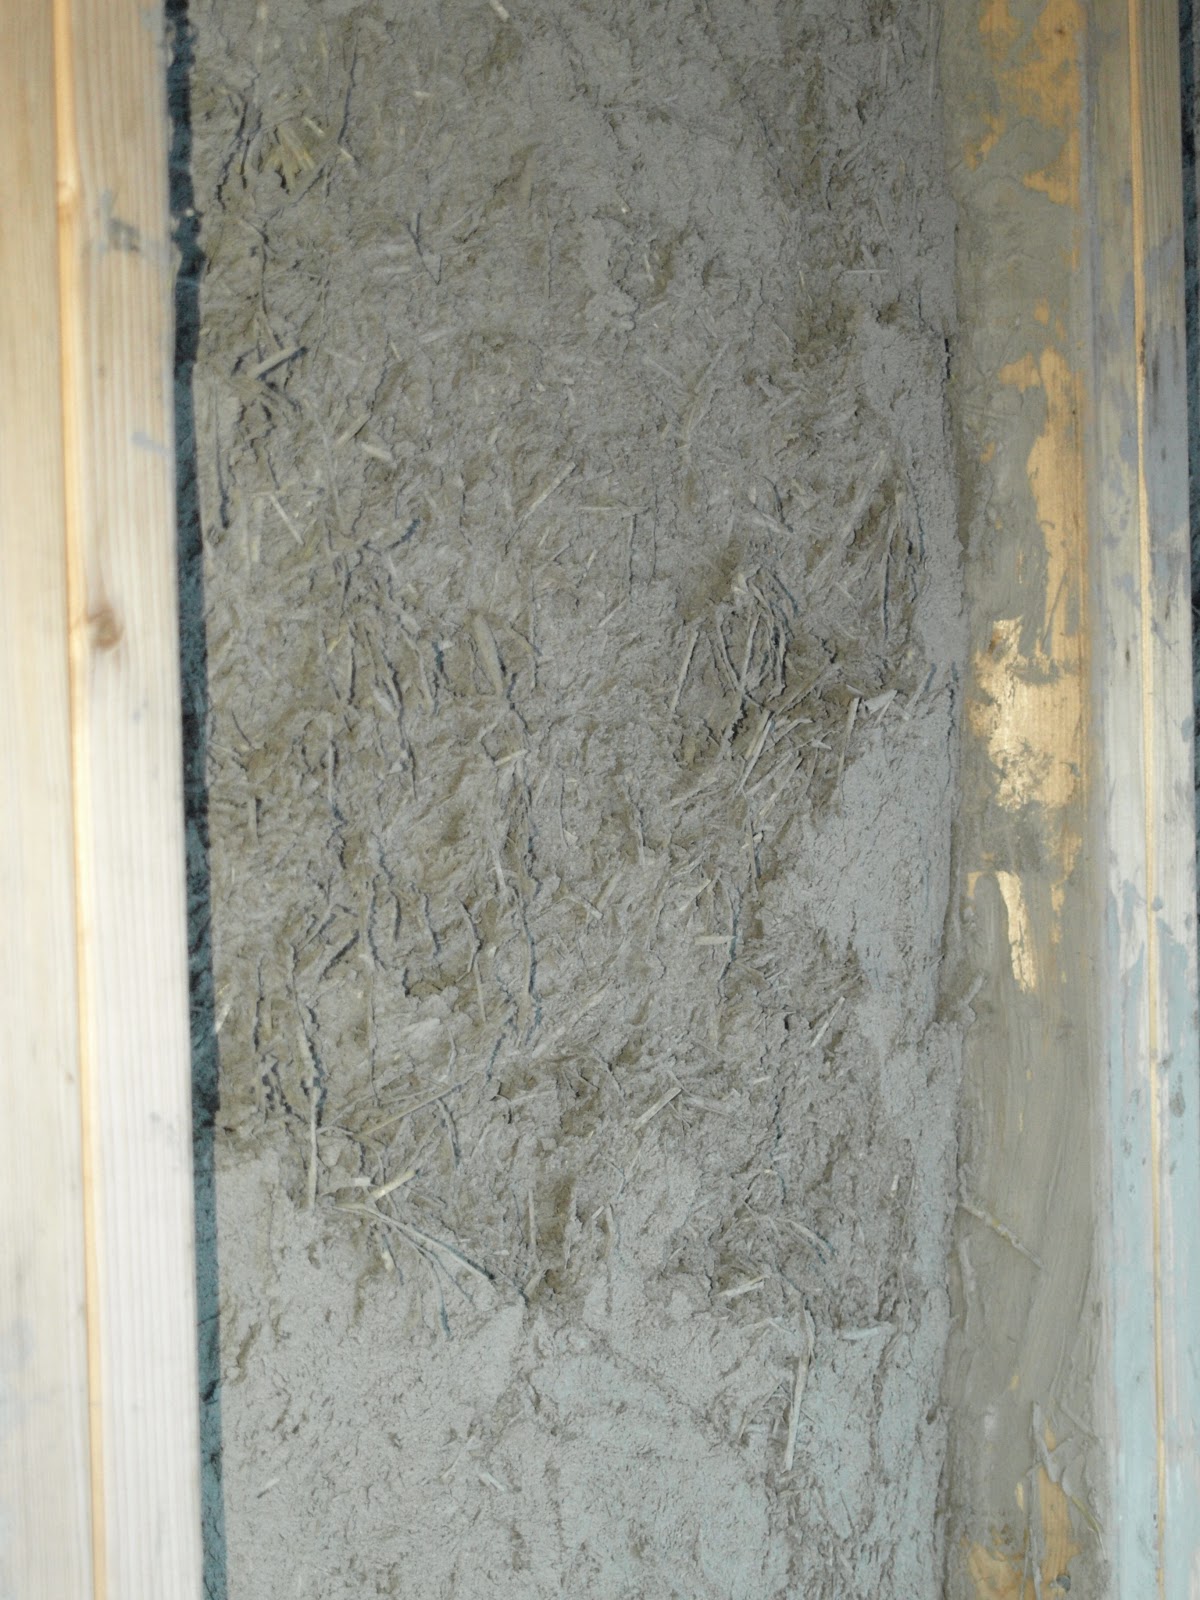
The temperature was forecast to drop to +2 degrees last night, however when we got up this morning it was -3 degrees. Significantly colder than forecast! This was not good news. The render we applied yesterday had frozen already, and the clay in the pit had frozen once again. One area of render had fallen off, pictured above, so not the best start to the day! We took the difficult decision not to do anymore rendering today and are questioning whether we leave the rendering until next Spring.
Saturday, 11 December 2010
Day 240 - the big rendering weekend!
The weather forecast for this weekend was a break from the extremely cold weather so we planned a big rendering weekend, and called all hands on deck to help! However, on Saturday morning we did a thorough inspection of the render and discovered some frost damage had occurred, particularly on the north-east elevation which has fronted a lot of the cold weather we have had recently. The frost appears to have frozen the water in the wet render and expanded it, and then once thawed the clay has stayed expanded leaving it aerated like an aero bar. The render has also not really dried in places and in others has lost its key. The good thing we discovered about the clay was that this process was reversable and it could be returned to its original state.
We carried out some remedial work and decided we had nothing to loose by trying to get as much of the remaining high level rendering done (on the north and south elevations) before the scaffolding is struck in about a weeks time.
Thursday, 9 December 2010
Tuesday, 7 December 2010
Horizontal cedar boarding on the west gable is complete and looks really good!
Many thanks to our carpenters, Steve Jarvis & Sons, who have done a fantastic job in very cold conditions (some mornings it was -6 degrees!). They have also put up the whole timber frame, done all the metal roofing and fitted all the windows. Their attention to detail is amazing and they have been very enjoyable to work with. Many thanks to you all.
Sunday, 5 December 2010
Friday, 3 December 2010
Thursday, 2 December 2010
Wednesday, 1 December 2010
Subscribe to:
Posts (Atom)