Friday, 17 September 2010


There should be just enough lime to coat the hemp.


These quantities made about 1 barrow full.


The ground floor bales finish under the first floor joists, and the first floor bales will begin on top of the joists, so we have a gap in the zone of the floor joists (300mm deep) which needs to be insulated.  This space is an awkward shape (mainly due to the floor joists being 'I' shaped), and we thought the easiest way to fill it tightly (with no air gaps) was with a hemp and lime insulation.

We wanted to test this first to see how difficult it was, how well it worked, and how long it would take to dry.  The mix we used was 3 hemp to 1 lime with just enough water to coat.  It is a dry mix.


As the number of bales that got wet was much greater than at first thought, we did not have enough dry bales to finish all the walls.  Very kindly the stud, who we had given some bales to earlier on (as we had ordered more than we needed), agreed to exchange some of our wet bales for dry ones.

Sunday, 12 September 2010

Day 153 - roof membrane complete (at last)!


Spare membrane fixed below the main roof, on the roof overhang, to help shed water further away from the straw walls until the aluminium sheet is fitted.


View of the completed roof from the north.


At last, fully completed roof with ridge strip in place and tarps over the rooflights.


North side of the roof well underway.


South side of the roof completed.


Eaves drip plates fitted to north side of the roof (they are mill finish aluminium but shown here with a white protective film over them.


Timber to head and verge now finished for the two single rooflights, just the main large rooflight over the stairs to go.


Progressing with the membrane today - the aim is to finish it before the day is out!


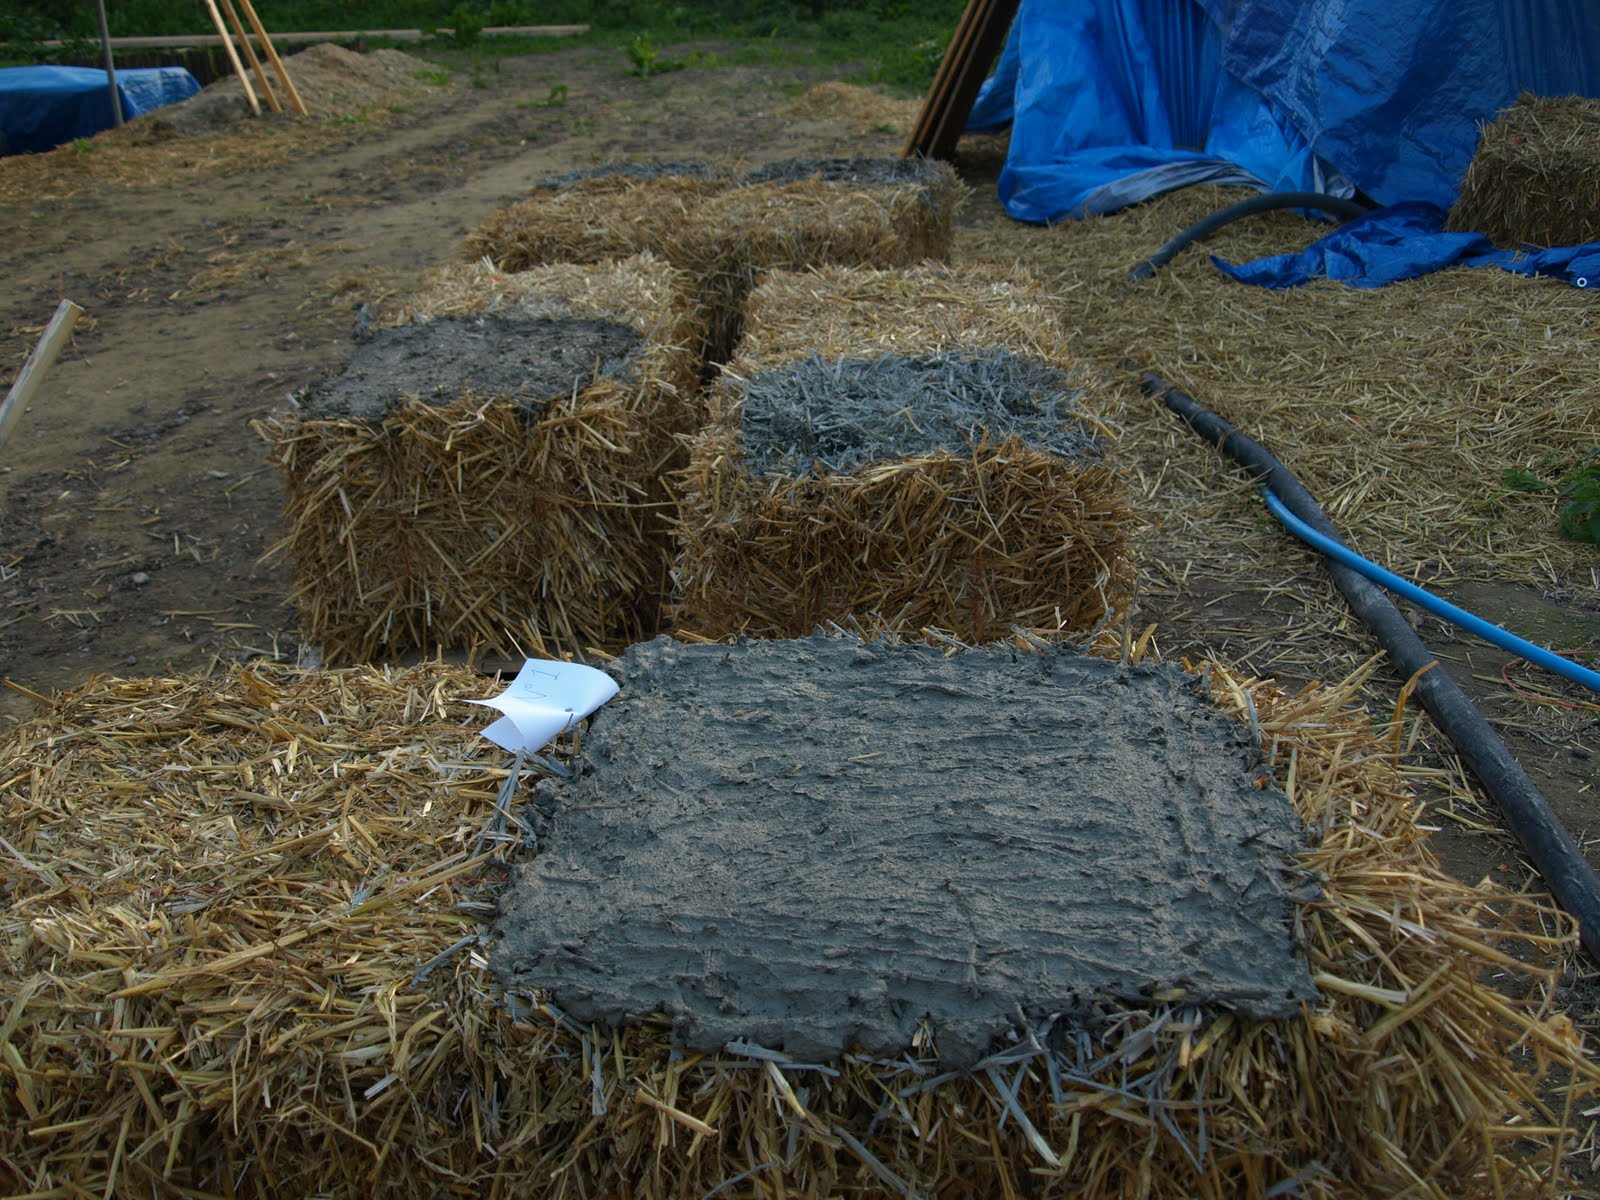
The test bales lined up.


Mix no.1 applied to the first test bale, over the slip coat.


The first mix: 1 clay: 2 sand: 1/2 straw


We did test panels of the first coat / slip coat on 5 different bales.  These will form the base of the tests for the second coat.


On the outside of the bales will be two coats of clay render, behind the timber cladding.  This makes the straw air tight (but still breathable), fire proof and moisture resistant.

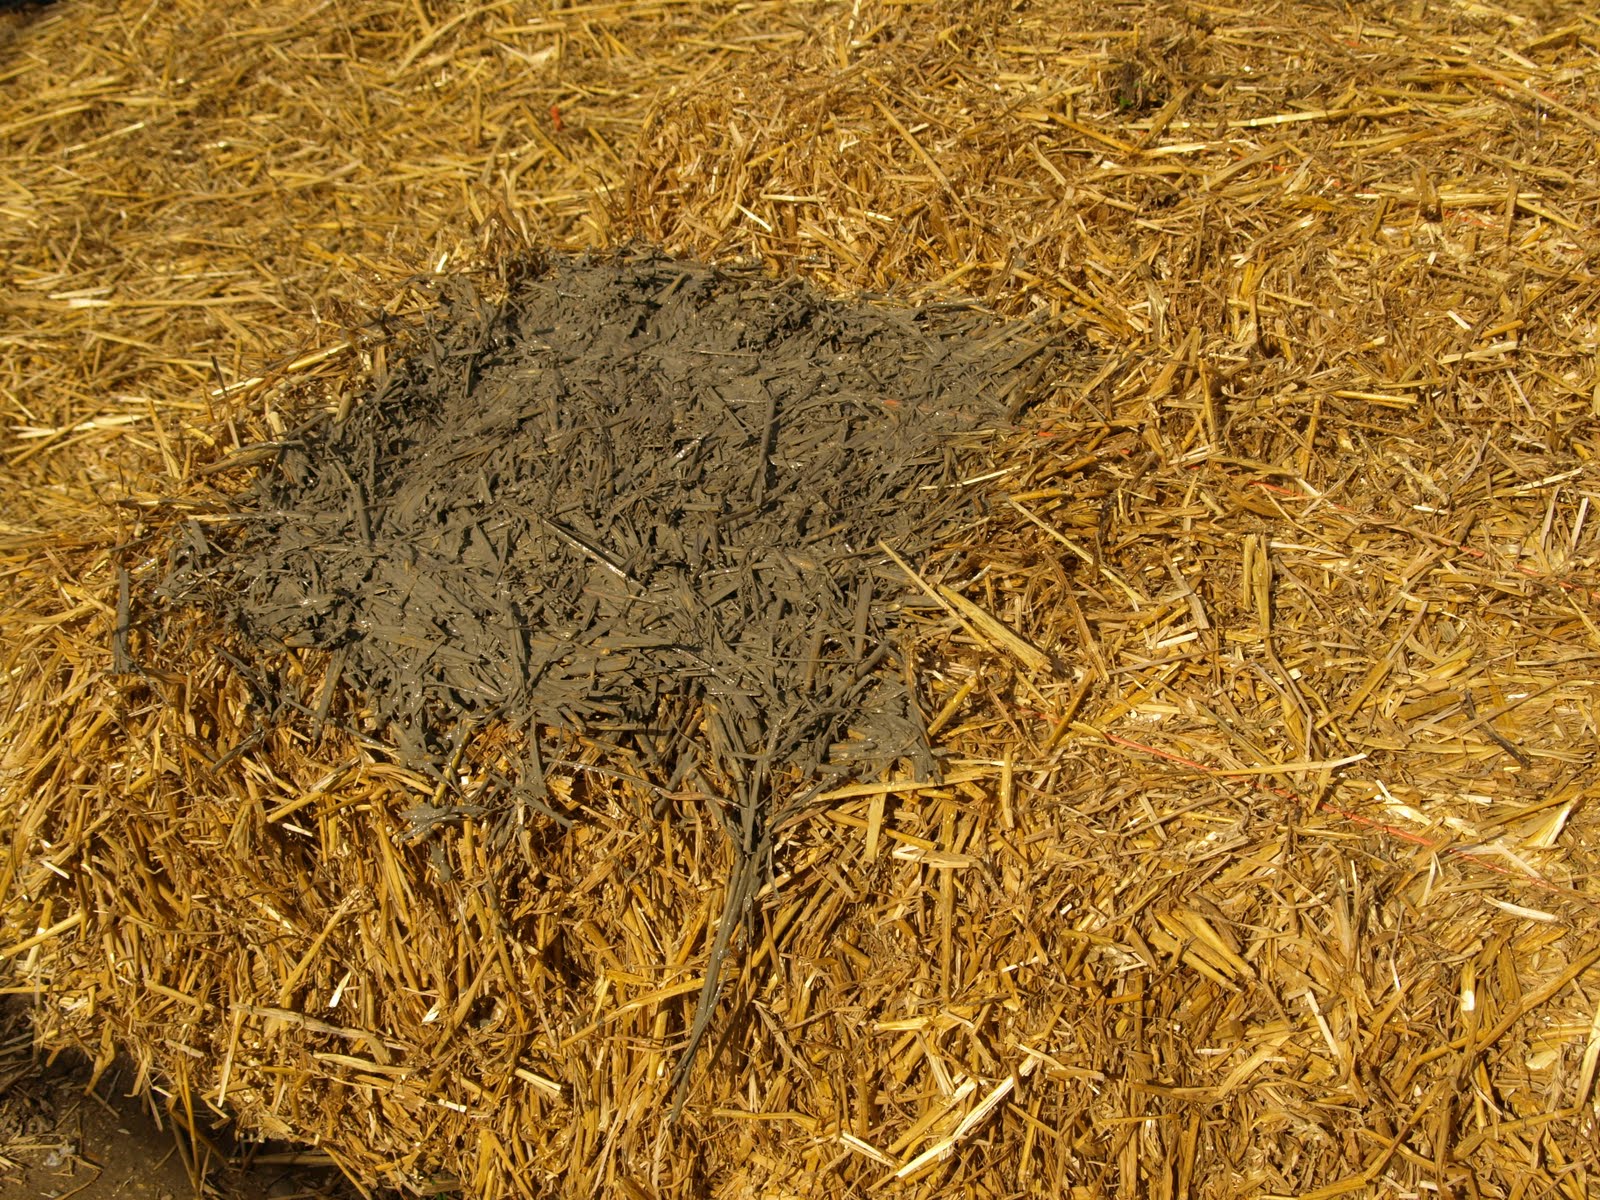
The first coat is a clay slip, made of clay and water, and any gaps between bales etc are filled with a straw & clay mix at this stage.

The second coat is a mixture of clay, chopped straw and sand.

We first tried out the first coat, shown here.

Saturday, 11 September 2010

Day 152 - Starting to take out the straw


We fitted the timber round the next rooflight and started the next area of membrane.


We started stripping the straw bales out.  When we had the bale moisture probe we had marked about 60% of the bales in this wall (south) as being wet.  However, when we started dismantling it, the wet patches were much more extensive.  We did not manage to salvage a single dry bale from the entire wall.  The wet patches were very localised, making it difficult to pick them all up with the moisture probe.

It looks like the two main paths for the water into the bales were: tracking down the hazel stakes; and running down the timber posts, particularly where the additional posts are either side of window openings.  We think the bales would have faired better if the top 1/2 course of bales had been fitted.  This course was not staked with hazel and being orientated in the opposite direction would have prevented a buffer for the bales below.

The straw in the south wall is now stripped out.


We noticed that several of the bales started to grow green shoots - not quite what we had in mind for the green wall!

Friday, 10 September 2010

Day 151 - begining clay tests


The clay slip coat tested out on the straw bale wall.

Thursday, 9 September 2010

Day 150


Blocking completed on the south elevation.


... and cut out over the main rooflight over the stairs.


Ply cut out over the rooflights...

Wednesday, 8 September 2010

Day 149


The facia board will be fitted to the blocking.


Blocking fitted between the rafters on the north elevation.

Tuesday, 7 September 2010

Day 148 - flue fitted


The completed flue.


The roof collar around the flue.


... and on the first floor.


Flue for the woodburner fitted today - ground floor...


West gable framed out, around the windows.

Monday, 6 September 2010

148


Restraint straps fitted, to tie gable ends to joists.


Top strip of the plywood deck complete.

Sunday, 5 September 2010

Day 147


... which doesn't look as good from this angle!


The whole days progress...


With the eaves drip plates in place, the timber fixed either side of each rooflight, finally at 5.30pm we rolled out the first run of membrane  (and realised we probably weren't going to finish this weekend!!)  We significantly underestimated the length of the task!


The rest of the eaves drip plate fixed in place on the south elevation.

Saturday, 4 September 2010

Day 146


We started to fit the aluminium eaves drip plate, in preparation for the roof membrane.


... and a reading taken.  10.3 means this bale can stay!

However, the problem we began to found was that water had very locally penetrated into a lot of the bales - ie where the hazels were located water had tracked down them into several courses of bales.  This meant that the we could test both ends of a bale and it have an acceptable reading but miss the wet patch.


The probe is inserted into the wall...


As a lot of our bales got wet during the very wet August we experienced, we borrowed a bale moisture probe to find out how far into the bales the moisture penetrated.  Bales that have got wet in the centre will probably not dry out before they rot.  The meter gives a moisture reading between 1 and 99.9.  Anything below 16 is dry enough to stay, any bales with a reading greater than this will need to be removed from the walls.

Friday, 3 September 2010

Day 145 - ply deck fitted


Most of the ply deck fitted on top of the rafters.


Hangers put on rooflight trimmers.

Thursday, 2 September 2010

Day 144


Framing of east gable complete.


Noggins between rafters on east gable fitted with restraint straps let in to the top (this helps tie the gable in to the rest of the building).

Wednesday, 1 September 2010

Day 143


View of house from the road.


Framing for rooflights over the bedrooms.


... and the others completed.